
Summer is well underway, and summer is the season for horror, right? Lately I've had a lot of occasions for creative work, so here's a "you can make images like this too" kind of how-to.
First, take a look at this image (horror warning) ↓
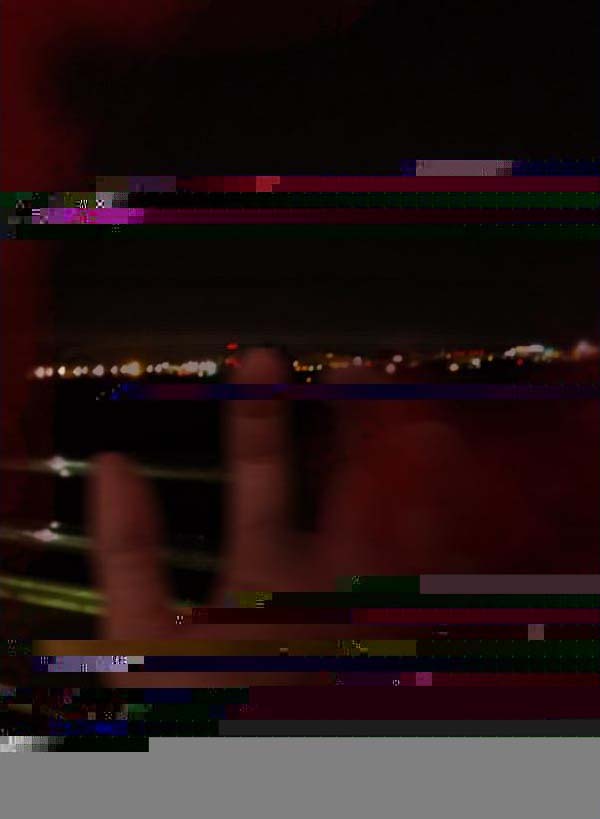
Doesn't it kind of look like "an image that was partially sent from a smartphone broken in a monster attack"? Actually, it's all fabricated — a "photo of a night scene" + "a selfie of a hand" + "blood-like editing," topped off with some glitch-style processing. And by the way, that hand-looking thing is my own hand, so no need to worry.
Step 1: Prepare the photo you want to glitch
The first thing to keep in mind is that even though we call it "glitch-looking," it really is glitched. We're intentionally corrupting the data, so make sure you copy and back up the original first.
Here, I'll go ahead with this image.
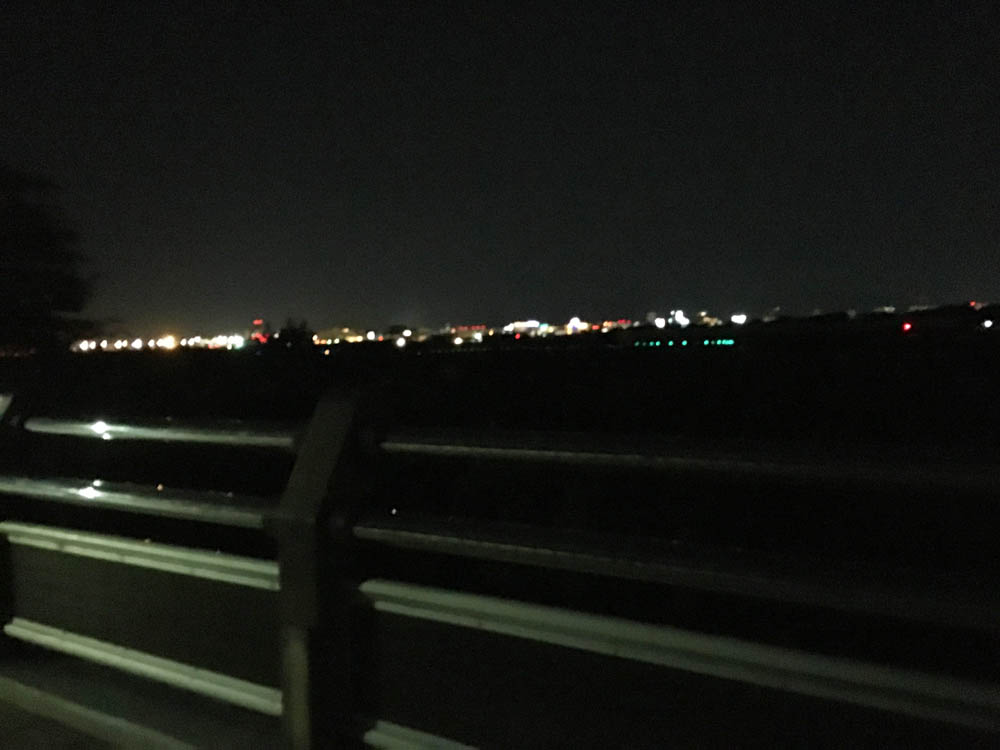
The image format we'll use is JPG, and we'll go with one that's relatively small. If the image is too big, glitching it becomes a real pain.
Step 2: Download the binary editor Stirling
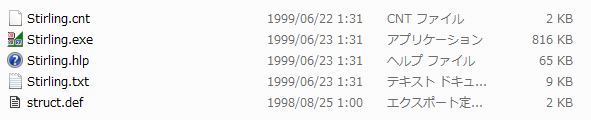
Download Stirling here (from Vector). Once you download and unzip, you'll get files like the ones below, so open "Stirling.exe" to launch it.
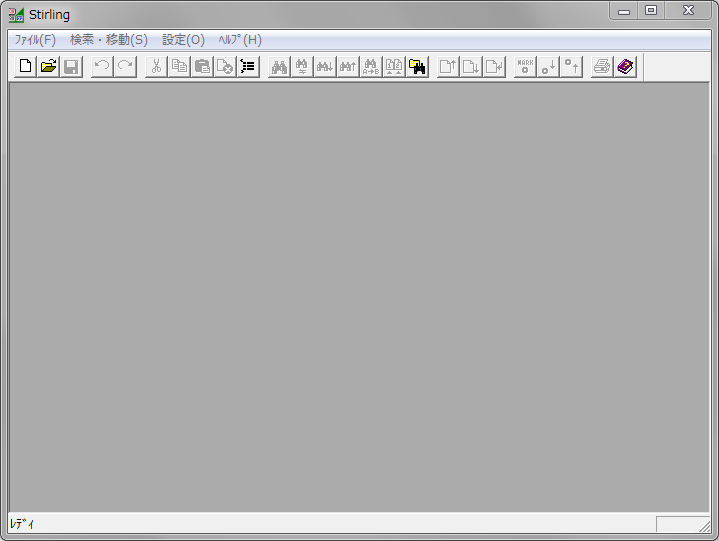
When you launch it, it looks like this.
Step 3: Open the image file
Drag and drop the image you want to glitch into Stirling. (Or use Open.) You should see a string of hexadecimal numbers like the one below.
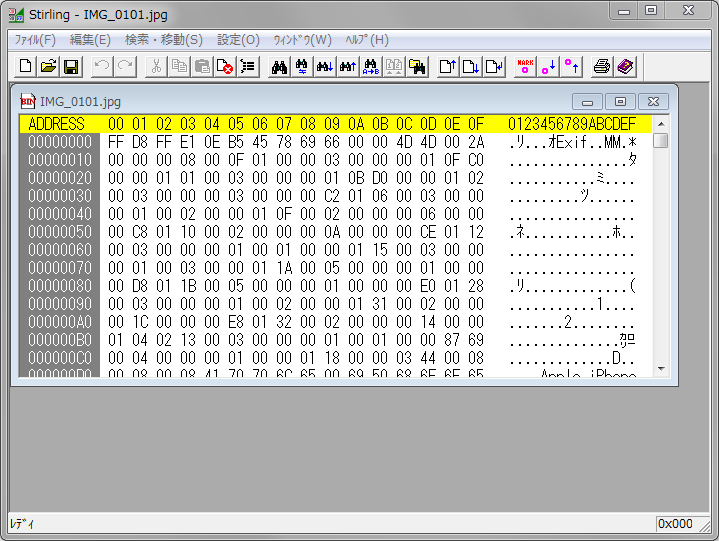
This is the image data represented in hexadecimal.
Step 4: Let's glitch it!
There's a scrollbar on the right, so scroll all the way to the bottom. Then, delete delete delete the values like this!

Select multiple at a time and hit "Del," move the cursor around and hit "Del," and erase a little at a time. Once you've done a bit, hit the "Save" button to save.
If you open the saved image in a viewer, you can see the bottom part has gone glitchy.
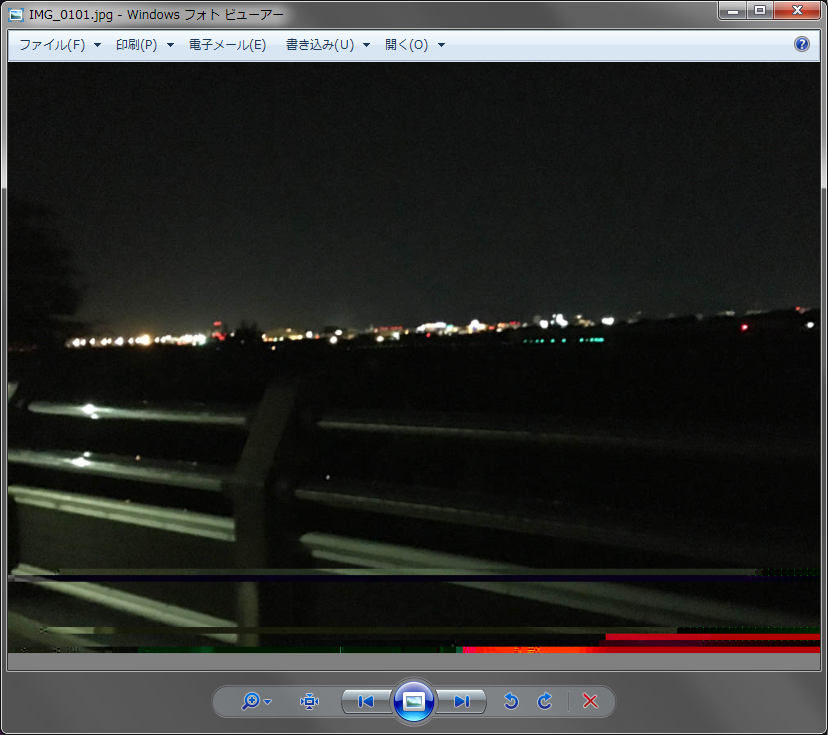
If you wipe out a big chunk near the very bottom first, you get a nice "couldn't finish sending" vibe. (↑ the gray part of the photo) If the photo's appearance hasn't changed, try deleting a few more values.
That said, be careful — if you delete too much, or if you erase the values up top (the management area), the file won't open anymore.

If that happens, just hit "Ctrl" + "Z" and undo until the image shows up again.
Step 5: Open in a viewer and capture
Once you have your glitch-looking image, open it in a viewer, take a screenshot to capture it, and save the screenshot as a copy. That's it — you're done. By the way, if you try to edit the glitched image directly, depending on the tool, it might not open at all or could cause all sorts of trouble, so make sure to use the captured version.