
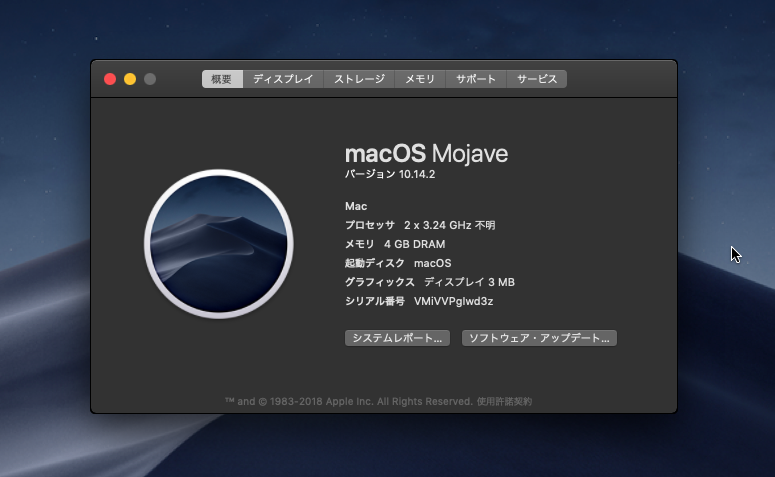
This is an attempt to run macOS Mojave inside a dream.
Of course, since it's a dream, everything is at your own risk.
Required environment and what you'll need
- A Windows PC
- An Intel CPU that supports VT (using the same kind of CPU that Macs use is even safer)
- VMware Workstation 15 Player (download)
- Unlocker (download)
- A virtual machine that already has macOS installed, or an installation image (described below)
Preparation
First, you need to prepare a base OS such as High Sierra, Snow Leopard, or El Capitan.
For how to obtain installation images, please see the past articles.
・I want to dream of running "Snow Leopard" on VirtualBox on Windows, even now
・How to create an installation ISO for OS X El Capitan on Windows
Basically, you'll need to obtain commercially distributed media such as Snow Leopard and update from there.
In this article, the steps will be:
- Install Snow Leopard on VirtualBox
- Download El Capitan from the App Store and create an ISO
- Create an El Capitan virtual machine on VMware Player
- Download and install Mojave from the App Store
This method works as long as the App Store is still distributing El Capitan, so do it sooner rather than later.
If you own a real Mac, you can sometimes get an image from the actual machine. (We'll skip that here.)
Install Snow Leopard on VirtualBox
Following this article, create a Snow Leopard virtual machine.
Be sure to create it on VirtualBox. With VMware Player, you'll get a version error and won't be able to install.
Once installation is complete as described in the article, run Snow Leopard's Software Update repeatedly until there are no more updates.
Download El Capitan from the App Store and create an ISO
Once your updated Snow Leopard virtual machine is ready, download El Capitan from the App Store.
A simple search won't bring it up, so open the El Capitan download page from this page (Apple's official site).
For details on how to create an ISO, please refer to this article.
Unlock VMware Player using Unlocker
Once you've created the El Capitan ISO, VirtualBox's job is done. Next, we use VMware Player.
After installing VMware Workstation Player 15, use the Unlocker you downloaded to make it support macOS.
Once you've extracted the file, run win-install.cmd. A command prompt will open and processing will begin — just wait until it disappears.
After installing, in the new virtual machine creation screen, you should be able to select macOS 10.14. That means you're good to go.
Create an El Capitan virtual machine on VMware Player
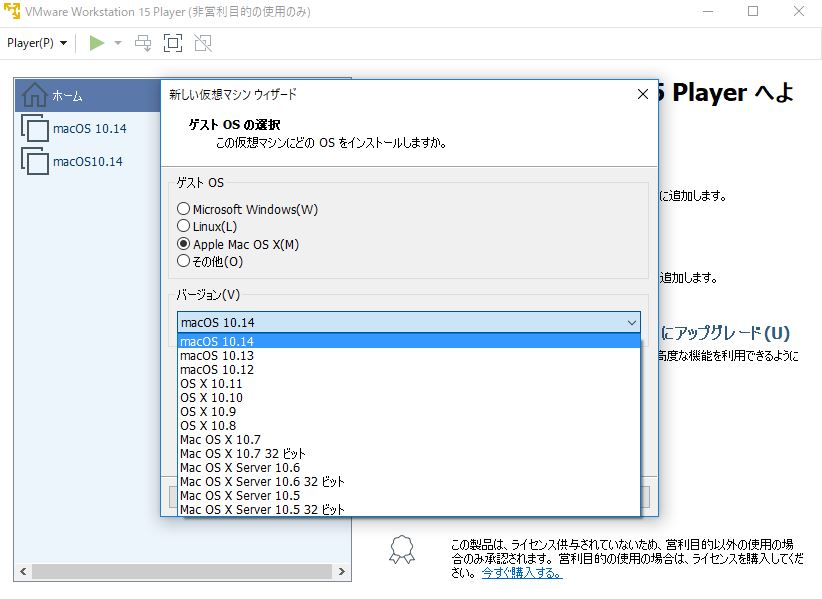
In the new virtual machine creation screen, select "macOS 10.14."
El Capitan is not 10.14, but it doesn't matter.
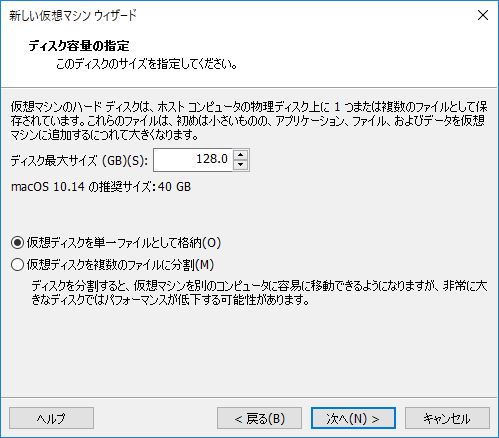
Next, on the disk creation screen, select "Store virtual disk as a single file."
For capacity, 128 GB or more should be plenty. If your host PC has the room, increase it as you like.
You don't really need to change the settings, but you can adjust memory and core count to your preference.
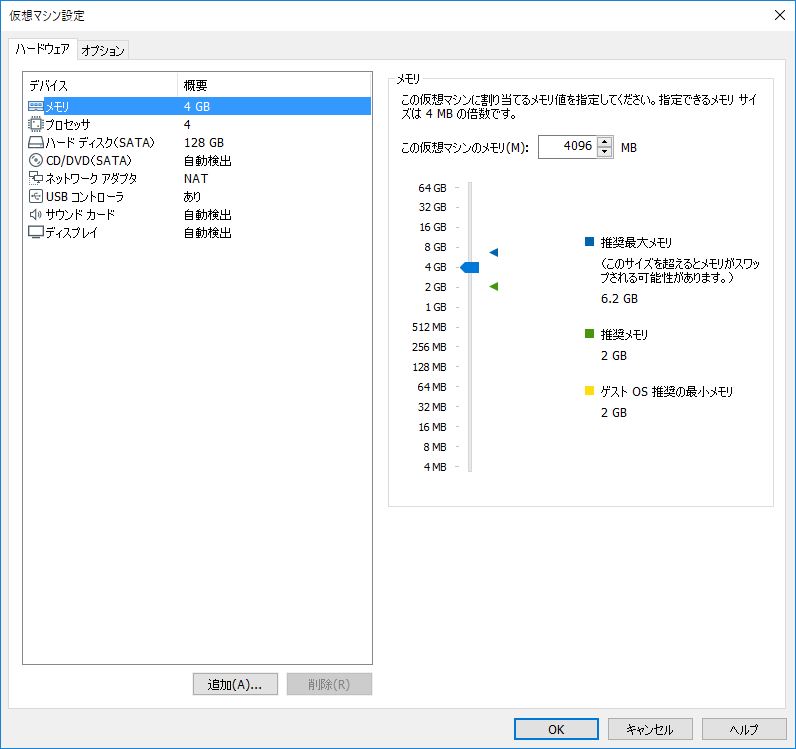
If your host machine has 8 GB of memory, around 4 GB might be a good fit.
Next, point the CD drive to the El Capitan ISO image.
If you start it up and there are no problems, the apple mark will appear.

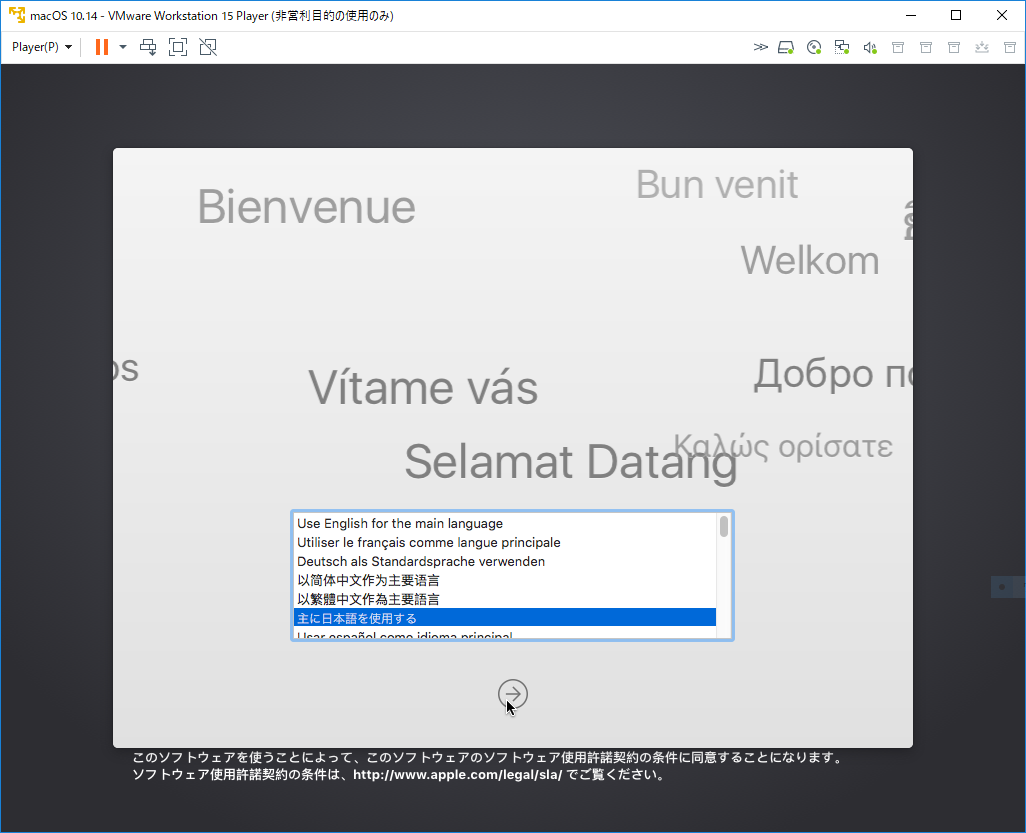
Once loading is finished, the welcome screen opens.
Select your language and click Next.
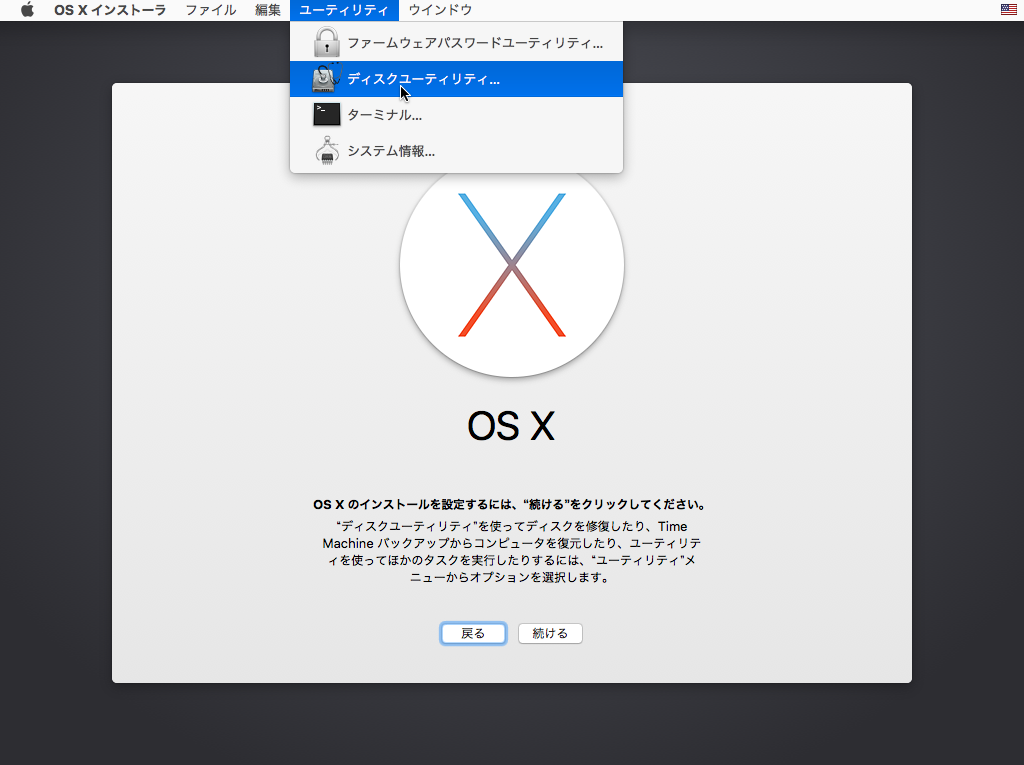
Before installing, you need to format the HDD, so open Utilities → Disk Utility from the menu bar once.
Select the HDD drive (VMware Virtual SATA…) and format it as OS X Extended (Journaled).
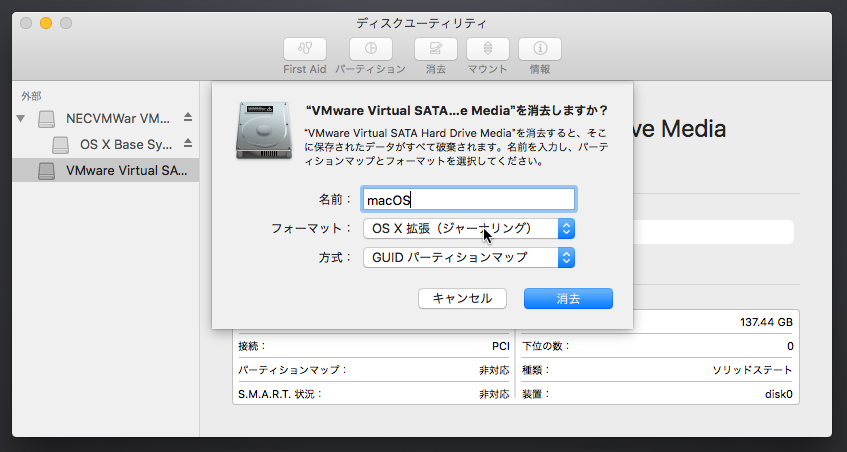
Once formatted, exit Disk Utility.
After that, on the install screen select the drive you just formatted and start installation.
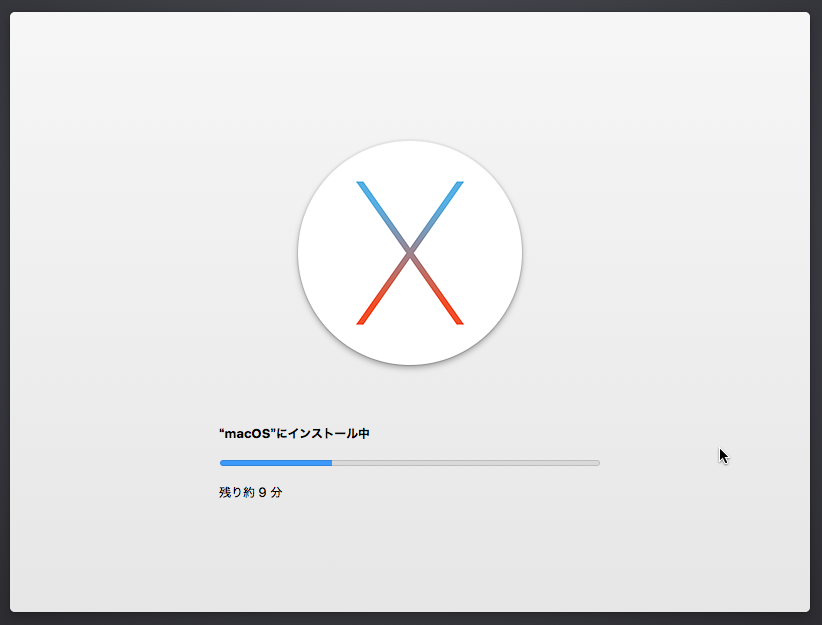
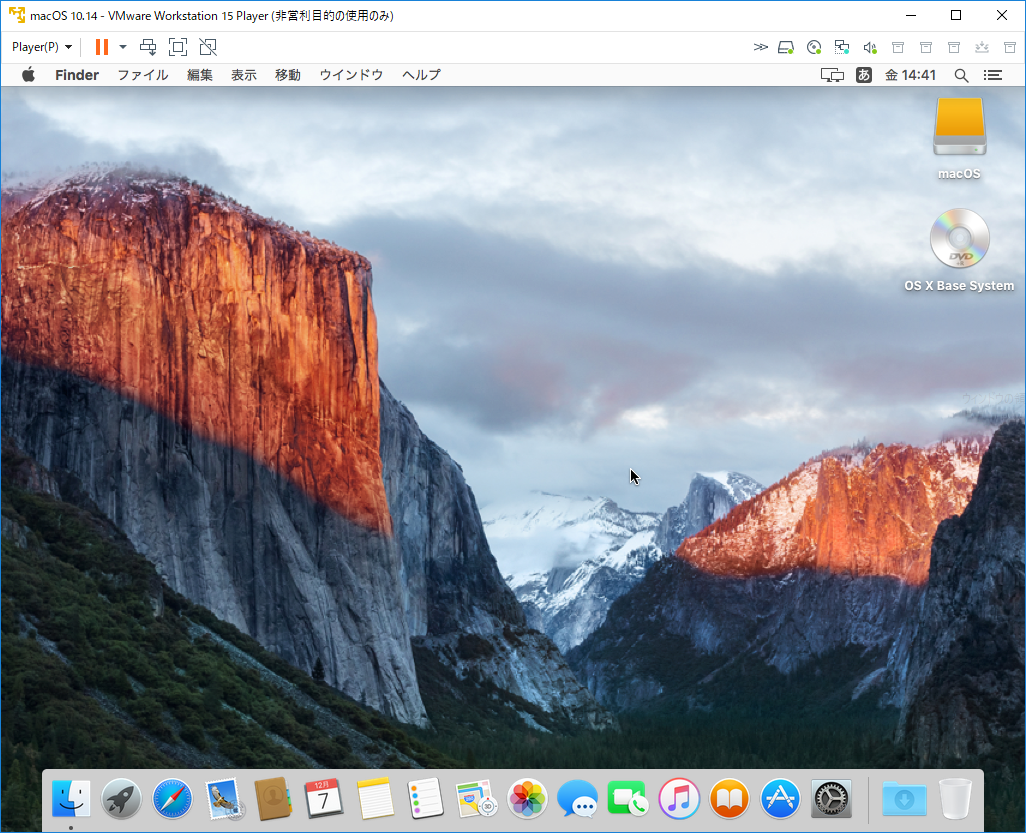
Once installation is finished and it boots up successfully, the El Capitan installation is complete.
Download and install Mojave from the App Store
Once your El Capitan virtual machine is set up, the next step is to upgrade to the latest OS, Mojave.
You can download it from the App Store and upgrade right away.
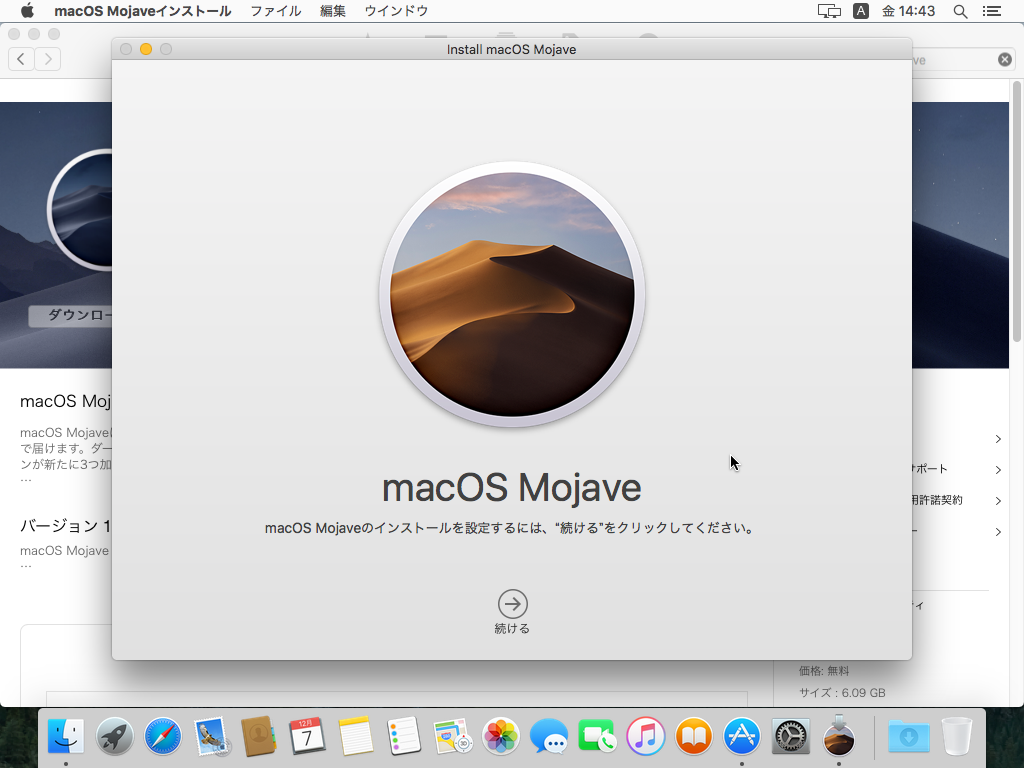
Open the Mojave download page and download it.
After that, follow the installer to perform the installation.
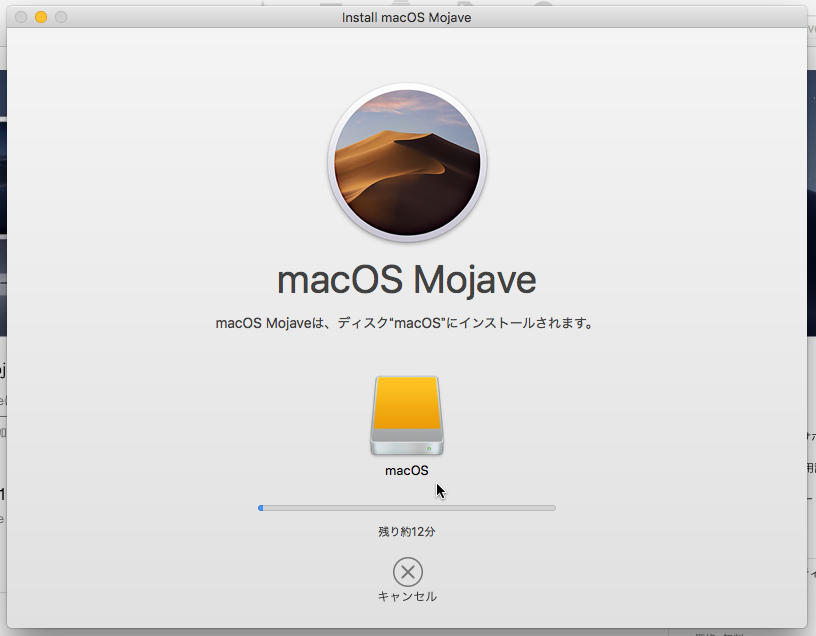
Installation takes a very long time, so be patient.
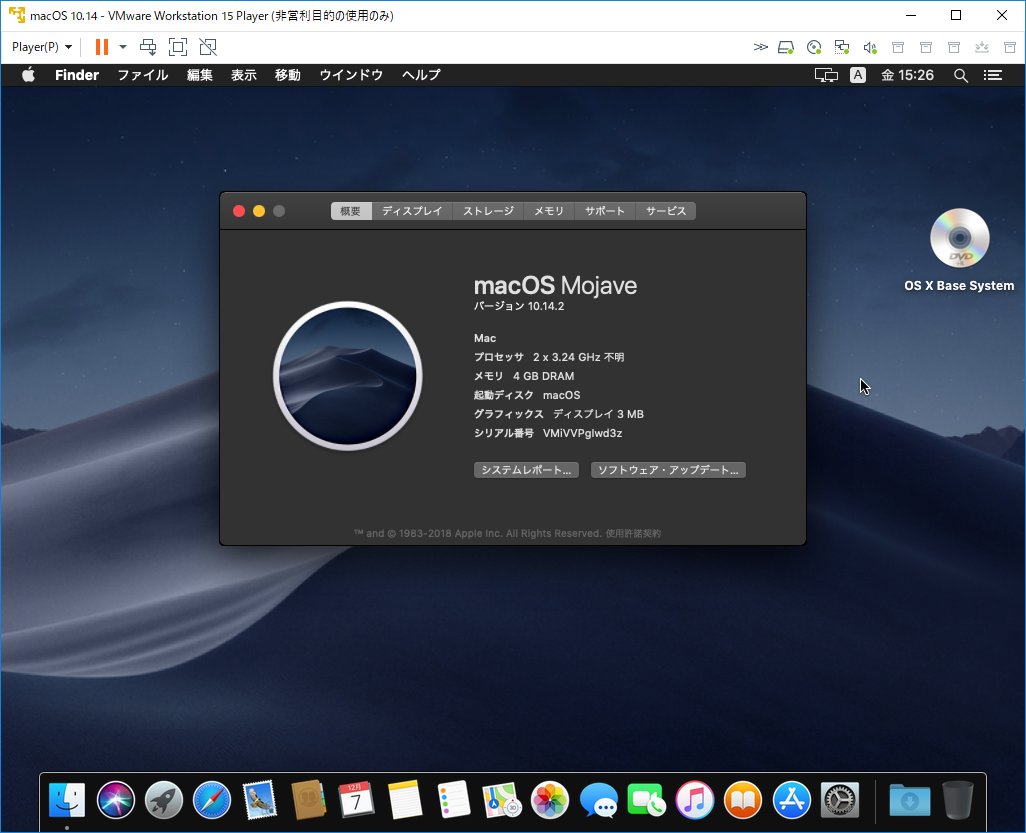
Once installation is complete, your Mojave virtual machine is ready.
Good work.
Install VMware Tools
You can use it as is, but installing VMware Tools lets you change resolution and so on.
Set darwin.iso, located in the Unlocker tools folder, as the virtual machine's CD drive.

Note that it's not the one in Pre15!
After that, follow the wizard to install.
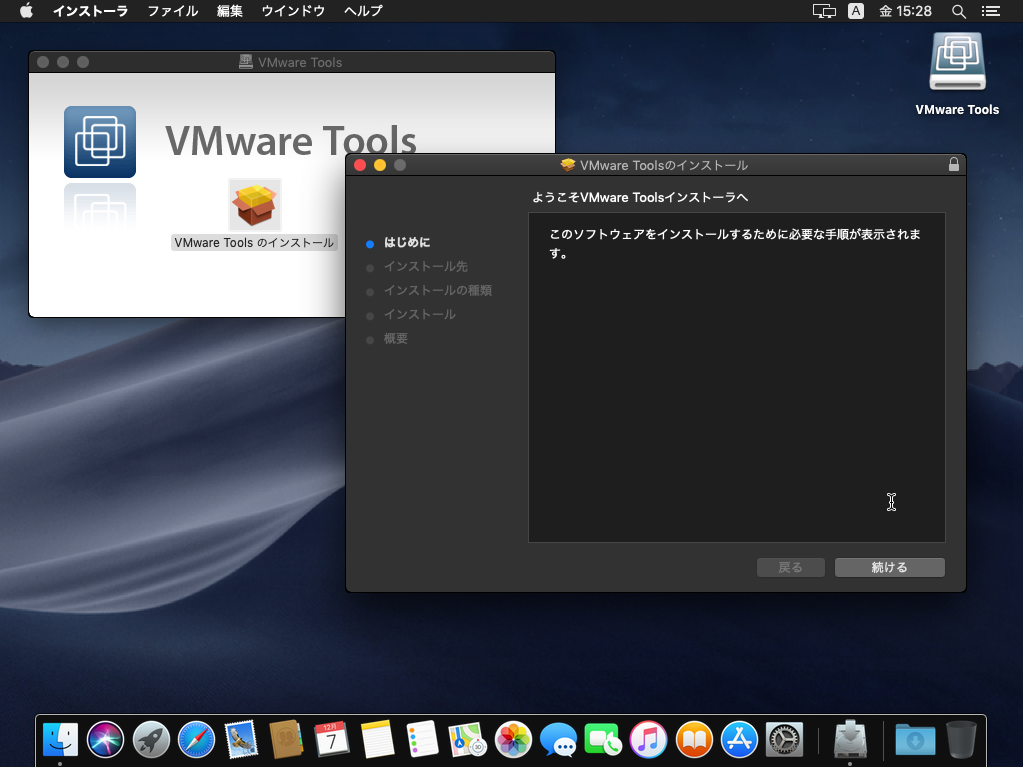
Partway through, the extension will be blocked by macOS, so click "Open Security Preferences."
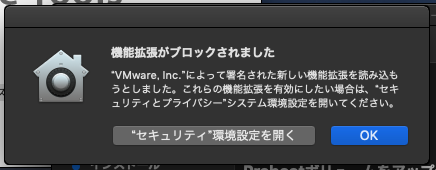
Once Preferences open, click the "Allow" button next to "System software from developer 'VMware, Inc.' was blocked from loading."

It's a bit of a hassle, but you'll need to restart macOS once and install VMware Tools again.
If installation is successful, the resolution will change when you change the window size.
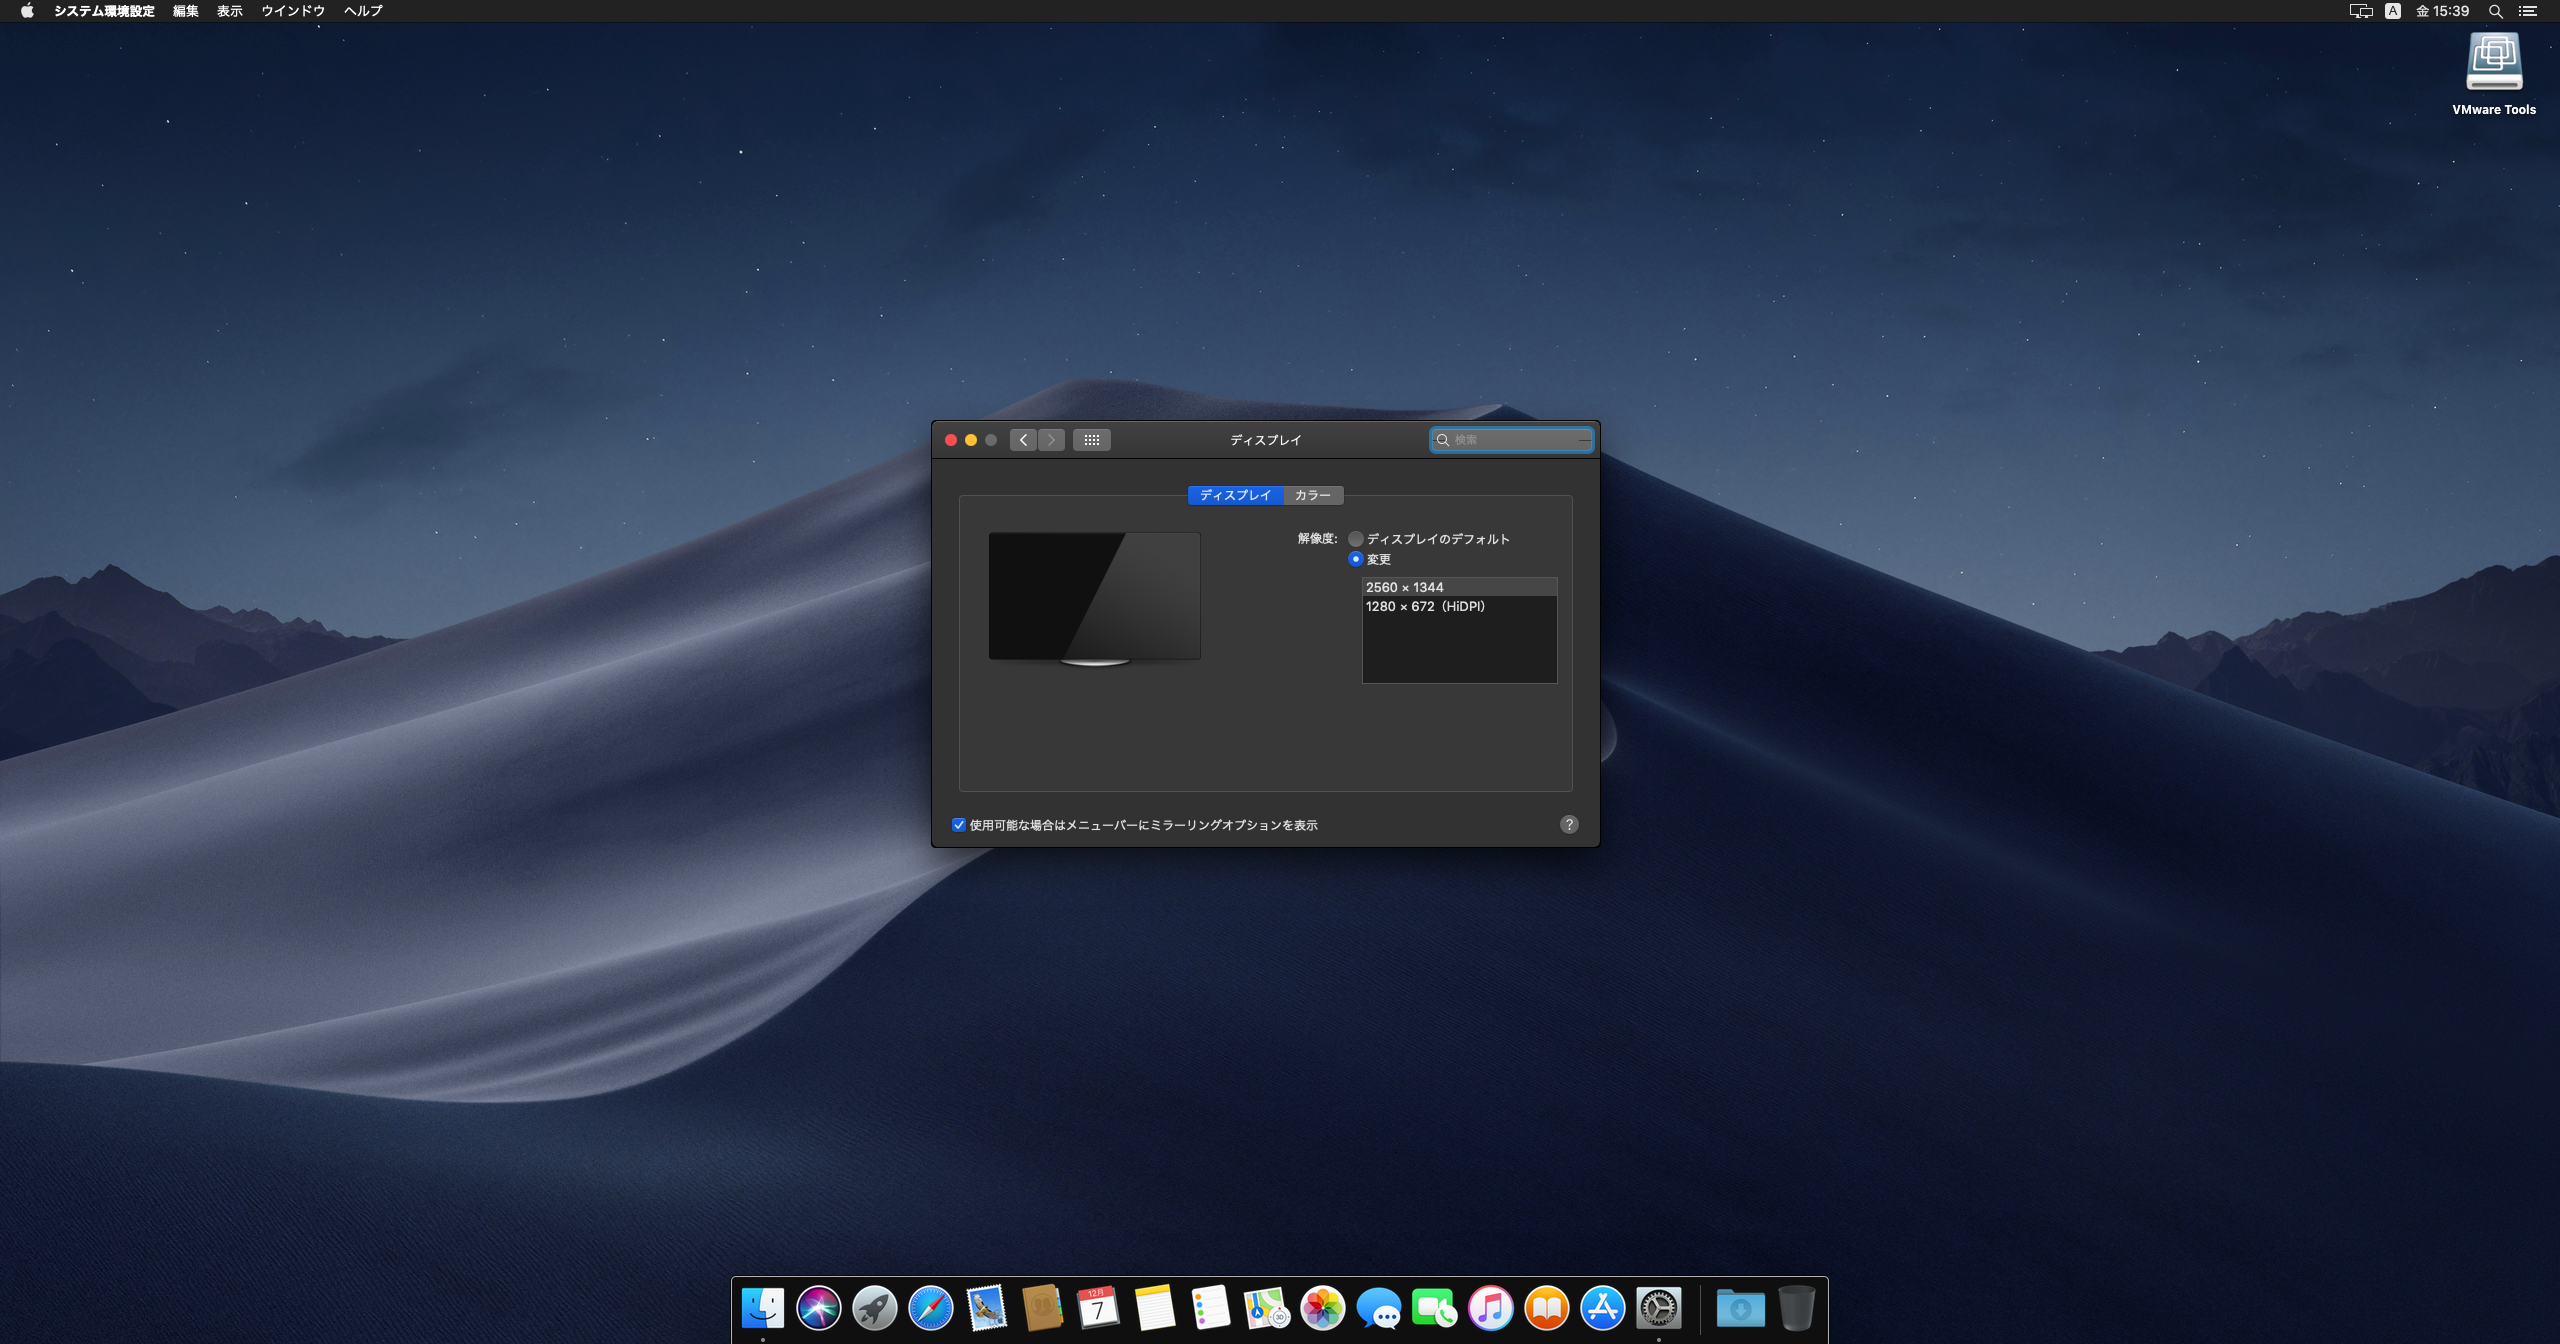
That's it — installation of Mojave is complete.
After this, install whatever apps you like and start using it.