
This time, we'll be dreaming about running "Snow Leopard," an OS that's now a thing of the past, on VirtualBox for Windows.
As always, this is just a dream, so please proceed entirely at your own risk.
System Requirements
- A PC with an Intel CPU
- A DVD drive
(The PC tested this time is configured with a Core i7 3770 CPU, 8GB of memory, and Windows 10.)
Get a Snow Leopard Installation Disc
Surprisingly, even at the time of writing, you can still buy one on Amazon or auction sites.
(Update July 2019: It's already out of stock, and these days it looks like you can only get one through auctions.)
Snow Leopard was released in August 2009, and it's a Mac OS from before everything went flat design.
By the way, August 2009 is when the iPhone 3GS was the latest model. It was an era when Retina displays — now totally commonplace — would have gotten a "What's that?" reaction.
Also, if it doesn't work, the disc just becomes a frisbee, so if you're buying one now, you should accept "I'm okay if this doesn't work" before going in.
Install VirtualBox
Please download the latest version from the official site.
*The version used this time was 5.2.8 r121009.
Download iBoot
From the iBoot 3.3.0 | tonymacx86.com page, please download "iBoot 3.3.0."
Downloading requires registering for a free account, which is a bit of a hassle…
Create a Virtual Machine in VirtualBox
Open VirtualBox and click "New."
On the virtual machine creation screen, set the type to "Mac OS X" and the version to "Mac OS X 10.6 Snow Leopard (64-bit)."
The name is up to you. As for memory size, around 4GB will be plenty.
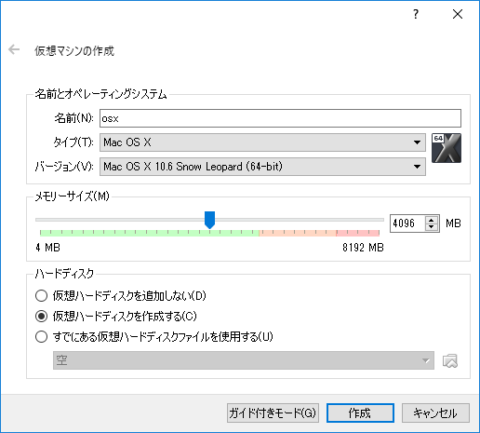
Next is creating the virtual hard disk.
It's a good idea to allocate a generous amount of capacity for the virtual hard disk — that way you can avoid capacity-related troubles down the line and save yourself the hassle of expanding it later.
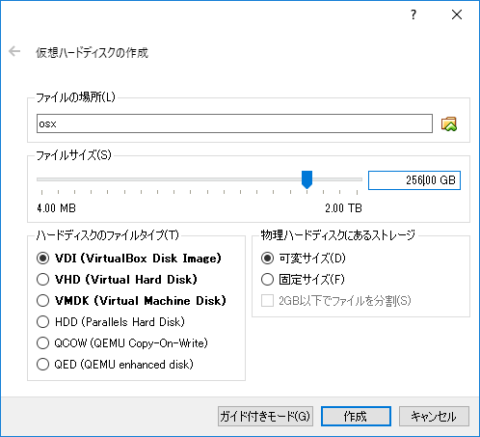
Once that's done, configure the virtual machine's settings.
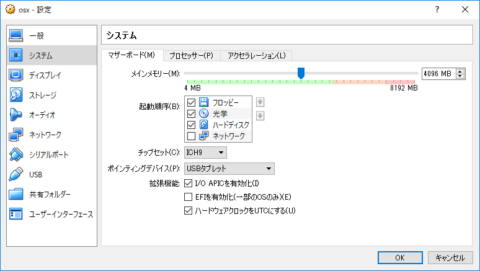
On the "System" tab, confirm that the chipset is set to "ICH9," and uncheck "Enable EFI."
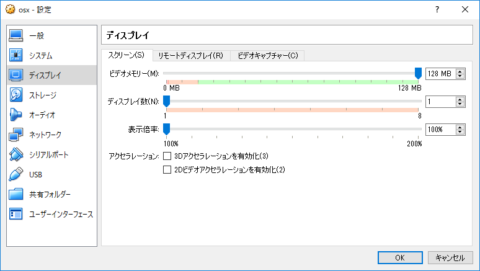
On the "Display" tab, set the video memory to MAX if you like.
On the "Storage" tab, delete the default SATA controller and add an IDE controller.
Change the type attribute to ICH6, and to the controller add a CD drive (set as primary master, physical drive, passthrough, with iBoot.iso) and the virtual hard disk you created earlier (primary slave).
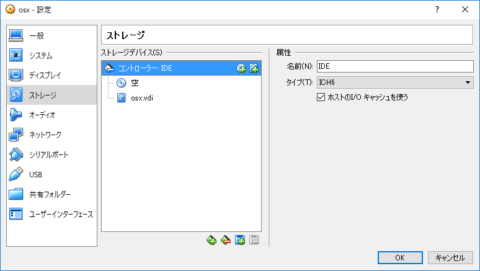
That's it for the configuration.
Installation Steps
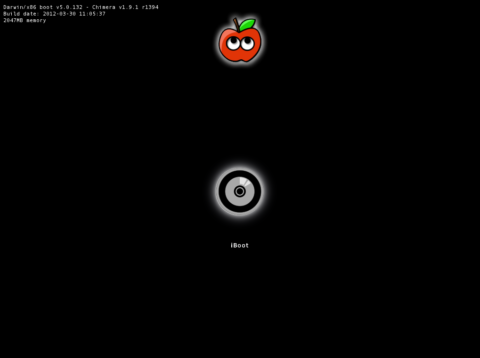
When you start the virtual machine, this kind of screen appears, so once you see it, switch the virtual machine's CD drive from iBoot.iso to the physical drive.
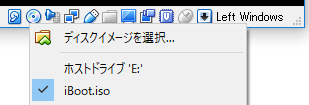
Make sure to put the Snow Leopard disc in the physical drive ahead of time.
Once that's set up, click on the virtual machine screen and press the F5 key. The "iBoot" on screen will change to "Mac OS X Install DVD," so press the Enter key.
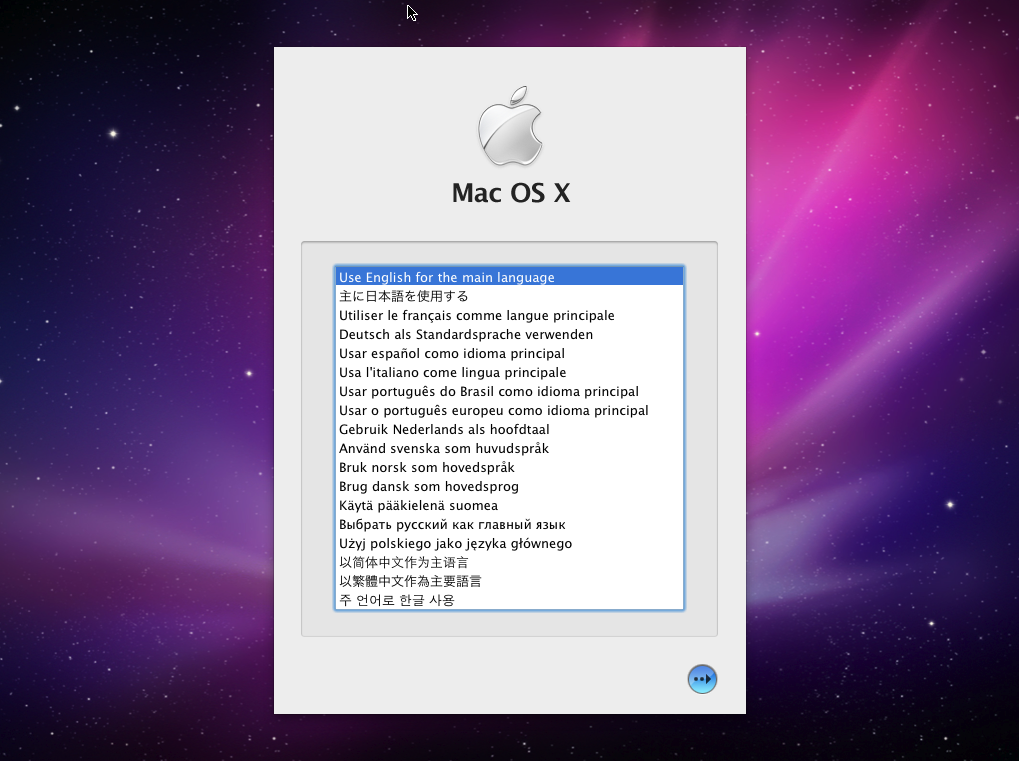
After that, the gray background with the apple logo appears, and after a short wait, the installation screen opens.
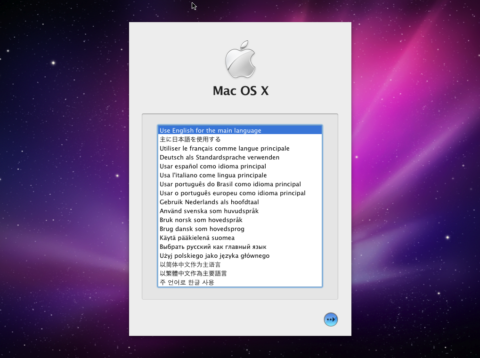
From here on it's basically the same as a regular installation, but as is, the HDD isn't formatted yet, so open Disk Utility from "Utilities," select the HDD (XXXGB VBOX HARDDISK), and erase it with "Erase" → "Mac OS Extended (Journaled)."
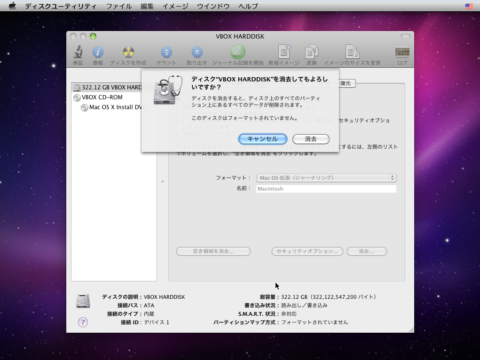
Once erased, close Disk Utility.
Next, to reduce the install footprint, click "Customize" on the install drive screen.
By skipping the install of unnecessary programs, you can cut down on both install time and disk space. This time we won't be using printers or foreign languages, so we set it up like the image below.
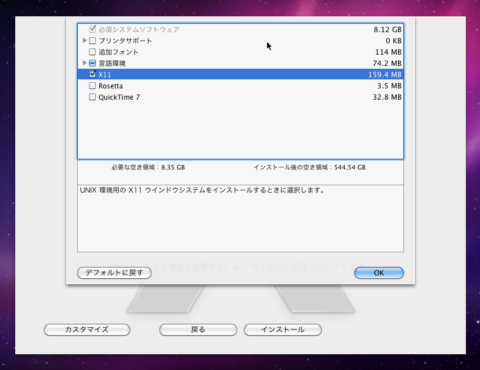
Once you've made your selections, click the "Install" button and wait a while.
When the installation finishes, the screen below appears.
Either wait a bit, or click the restart button.
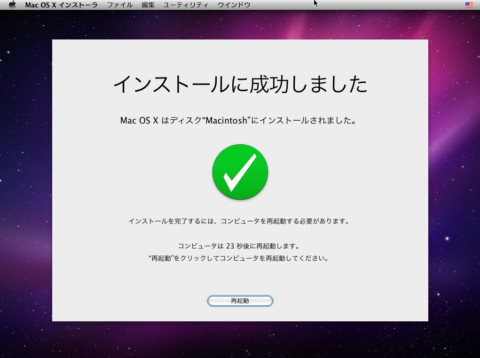
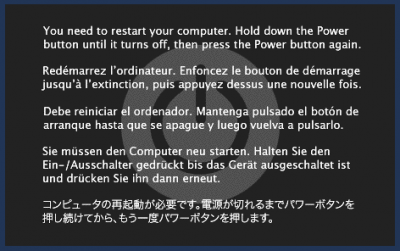
When you click the restart button, an error like "The computer needs to restart. The power will turn off…(omitted)" is displayed, but it's not a problem.
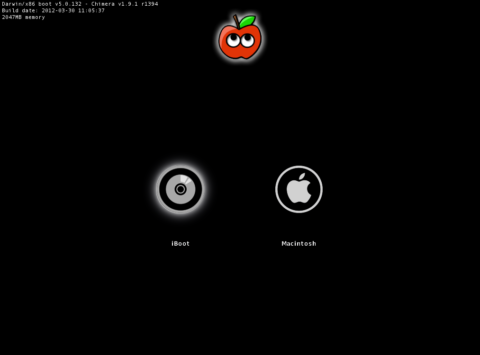
Switch the CD drive contents back to "iBoot.iso," then reset the virtual machine.
Reset the virtual machine, and if all went well, an apple icon has been added to the iBoot screen.
Use the arrow keys to select the apple icon, and press Enter. (By the way, you'll do this every single time you boot up.)
If all goes well, Mac OS X's initial setup begins, so go ahead and fill in the info as you like.
It's a good idea to make sure you set a user password, since you may need it later.
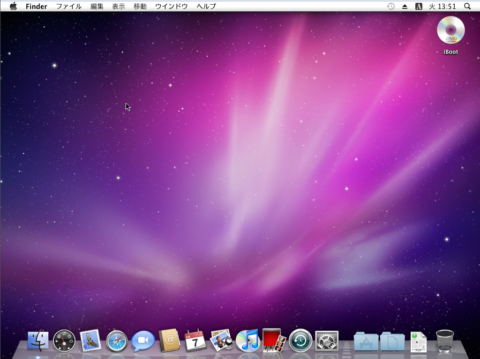
Once setup is done, the desktop appears.
Once you get this far, the work is done for now. Nice job.
How to Update
App Store isn't installed in the initial state, so update as needed.
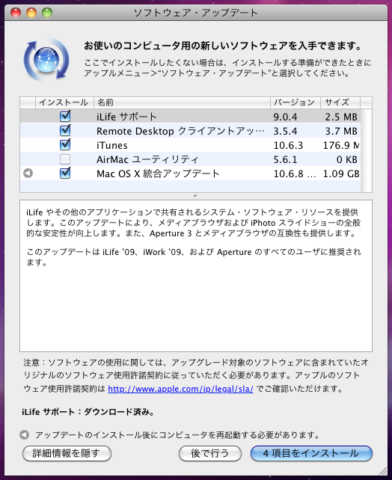
Check for updates: "Finder" → "Software Update"
In our environment, running Software Update caused the mouse to stop working, but setting the USB controller to 1.1 (OHCI) sometimes makes it work. (Even when it works, there's an issue where the up-and-down direction of the mouse is reversed.)
Also, when updating, note that unless you're in the state where you've clicked "Show Details," the update never seems to start no matter how long you wait.
It's a really old OS so you can't use it as a daily driver, but you can download the El Capitan install app from the App Store, and use it to create another El Capitan virtual machine on top of this one.
Other Articles
How to create an El Capitan ISO using this virtual machine: How to Create an OS X El Capitan Install ISO on Windows - CLAYPIER