
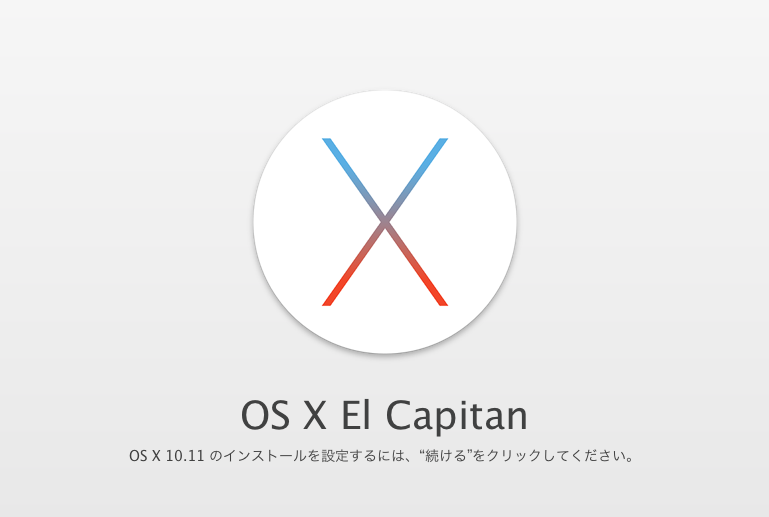
This article walks through how to make an ISO image of the slightly older macOS "El Capitan."
To do this you'll need a virtual machine that already runs macOS.
Prepare a VM That Already Runs macOS
If you don't have a VM that runs macOS yet, you can build one by following something like:
"Dreaming About Running "Snow Leopard" on VirtualBox on Windows in This Day and Age - Claypier"
This time we'll use the same Snow Leopard machine from that article.
Download El Capitan from the App Store
Use this link (App Store) to jump to the El Capitan download page on the App Store.
Once the page is open, click "Get."
Run a Software Update beforehand. (Otherwise the Get button can stop responding.)
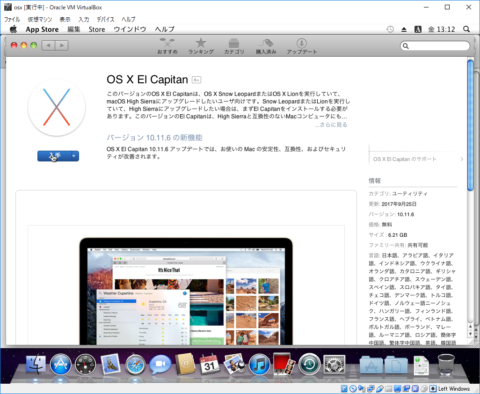
The download will start, so wait a while for it to finish.
Create an ISO from the Downloaded Installer
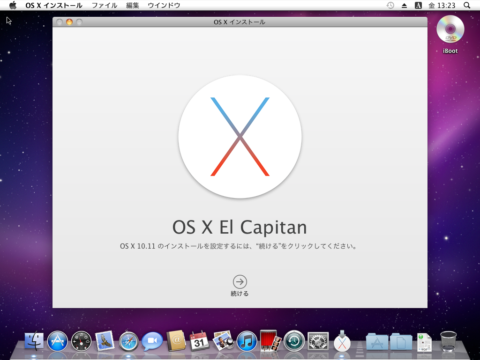
Once El Capitan finishes downloading, the installer screen opens automatically — close it or just ignore it.
Open Terminal and run the commands below in order, from top to bottom.
hdiutil attach "/Applications/Install OS X El Capitan.app/Contents/SharedSupport/InstallESD.dmg" -noverify -nobrowse -mountpoint /Volumes/esd
hdiutil create -o ElCapitan3.cdr -size 7316m -layout SPUD -fs HFS+J
hdiutil attach ElCapitan3.cdr.dmg -noverify -nobrowse -mountpoint /Volumes/iso
asr restore -source /Volumes/esd/BaseSystem.dmg -target /Volumes/iso -noprompt -noverify -erase
rm /Volumes/OS\ X\ Base\ System/System/Installation/Packages
cp -rp /Volumes/esd/Packages /Volumes/OS\ X\ Base\ System/System/Installation
cp -rp /Volumes/esd/BaseSystem.chunklist /Volumes/OS\ X\ Base\ System/
cp -rp /Volumes/esd/BaseSystem.dmg /Volumes/OS\ X\ Base\ System/
hdiutil detach /Volumes/esd
hdiutil detach /Volumes/OS\ X\ Base\ System
hdiutil convert ElCapitan3.cdr.dmg -format UDTO -o ElCapitan3.iso
Finally, a file named "ElCapitan3.iso.cdr" will be produced — rename it to ElCapitan3.iso and your ISO file is done.
To get the file off the VM, send it to the host PC over the network*1, or copy it onto something like a USB stick.
*1 On the host PC, share a folder with full access via "Advanced sharing," set the VirtualBox network to "Internal Network," and then connect to the server from Finder.
Address example: smb://Host-PC/