

When backing up a WordPress site, you can use the default export tool, but creating backups with the "All-in-One WP Migration" plugin is the recommended approach. Some features of All-in-One WP Migration are paid, but the basic functionality is available for free.
Download and Install
From the WordPress admin screen, go to "Plugins" → "Add New" to open the "Add Plugins" page, then type "all in one wp migration" into the search box.
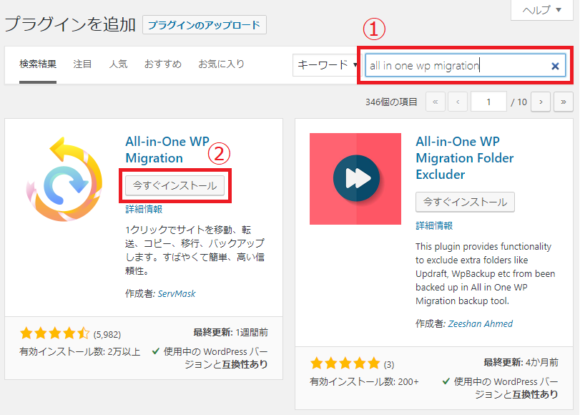
Check the name and icon, then click "Install Now."
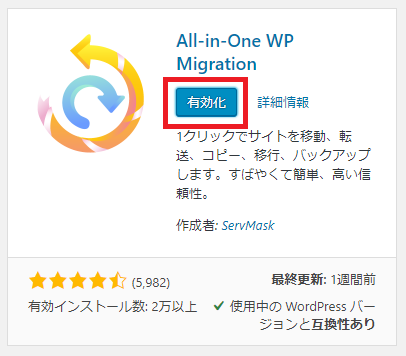
Once it's installed, click the "Activate" button next.
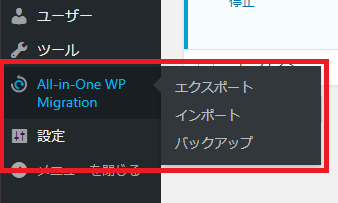
When the plugin is properly activated, "All-in-One WP Migration" will be added to the WordPress menu.
Exporting Your Site (Backup)
After installing the plugin, the first step is to export (back up) your site. Click "Export" in the menu.
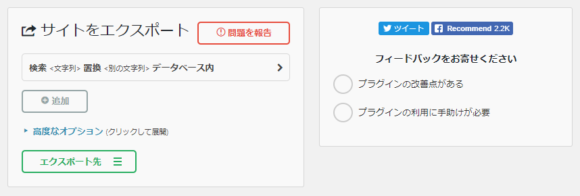
On the export screen, you can specify which files to include in the backup, the destination, and so on. Expanding the "Advanced options" menu lets you choose what to exclude from the backup.
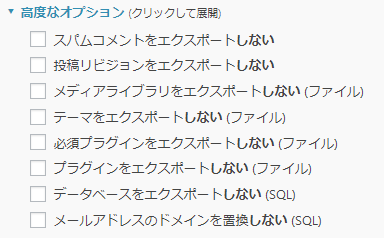
For example, you can save space in the backup file by checking unnecessary items like spam comments and post revisions. Expanding the "Export to" menu lets you choose where the backup file is saved.
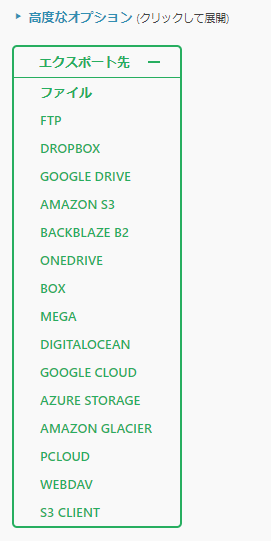
Note, however, that all destinations other than "File" require purchasing the paid version. Selecting "File" starts the export.
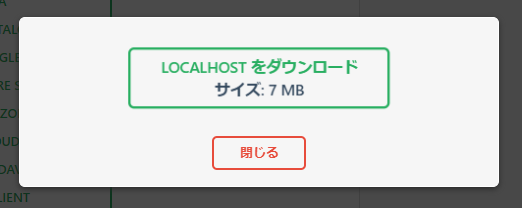
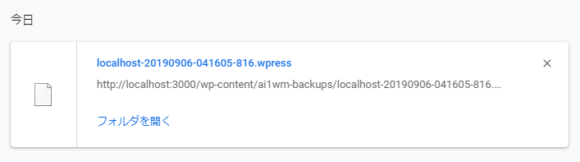
Everything runs automatically, so once it's done, just click the button to download. The backup file is downloaded in .wpress format.
Importing Your Site (Restore)
Opening "Import" from the menu lets you restore the site from the file you exported.
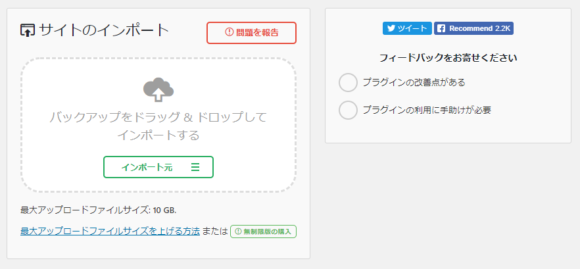
Upload the .wpress file you exported earlier by drag-and-drop or similar, and you can import (restore) the site. Expanding the "Import from" menu shows a list of import sources.
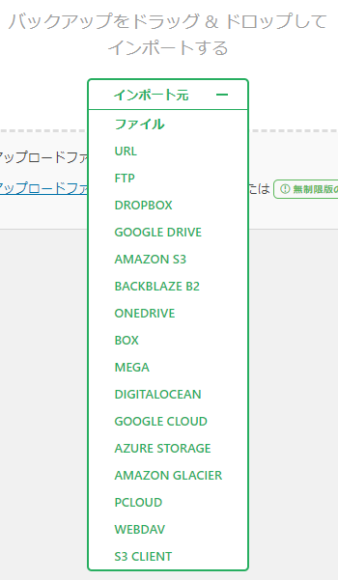
However, all options other than "File" are also paid. Select "File," choose the .wpress file, and the import will begin.
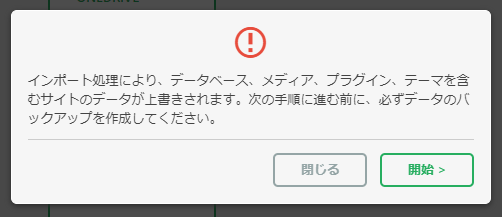
Pressing the "Proceed" button starts the import.
Note that running an import deletes all current site data and replaces it with the data inside the backup.
When the import is complete, a screen like this opens.
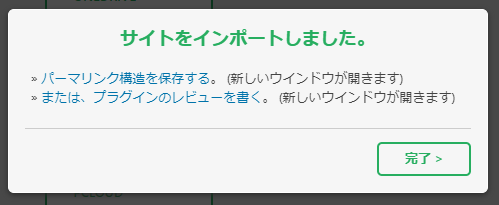
Pressing "Finish" will log you out of the site once. That completes the import work. Since the site's posts and user data have all already been overwritten with the contents of the backup file, log in next time using a user that exists in the backup file.
"Save permalinks structure" is used when the links on the restored site don't work correctly. Clicking it opens the permalink settings screen, so press the "Save Changes" button twice without changing anything.
Managing Backups
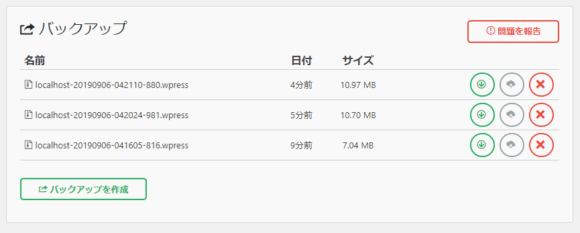
The "Backups" menu lets you manage backup files you've made in the past. For sites that have been running for several years, a single file can easily exceed 1 GB, so if storage is tight, we recommend deleting older files first.
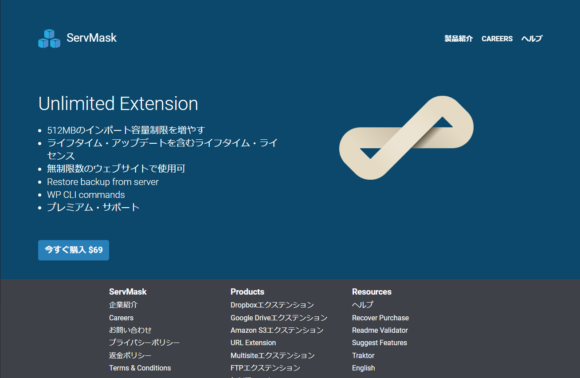
The "Restore" feature is part of the paid version, so I was sent over to the purchase page. It costs more than around 50 USD (7,000 yen), which may be a bit of a high bar to clear.
Back Up Just in Case
If, for example, you accidentally delete site data, or a malicious user rewrites your site, having a backup means you can restore it right away. "All-in-One WP Migration" makes backups easy, so it's a reliable ally to keep installed.
Plugin page link: https://wordpress.org/plugins/all-in-one-wp-migration/


















![[For Site Owners] How to Block Risqué AdSense Ads Like "Unicorn"](https://claypier.com/wp-content/uploads/2020/12/AdobeStock_291769572_Editorial_Use_Only-480x320.jpeg)