
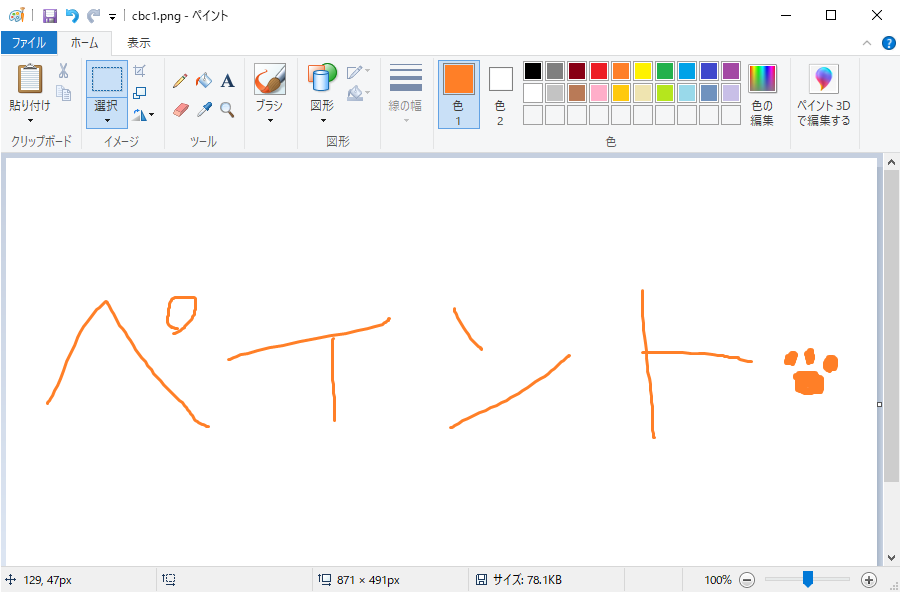
When you're working on a PC, there are times when you want to slap a mosaic on an image, but firing up Photoshop is just way too slow and it's a total pain. (I know I do.) So today, I'll show you how to throw a quick mosaic on an image using Windows' built-in "Paint" tool. The super-basic Paint app doesn't actually have a real mosaic feature, so we'll be cobbling one together out of its default tools to fake the look.
First, Get the Image You Want to Mosaic Ready
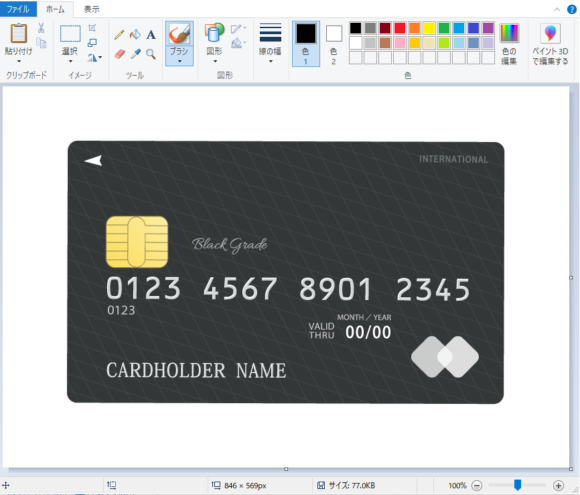
Anything that opens in Paint will do. This time I've prepared a chunk of pure personal info — a "credit card" image.
Select the Area with the "Select" Tool
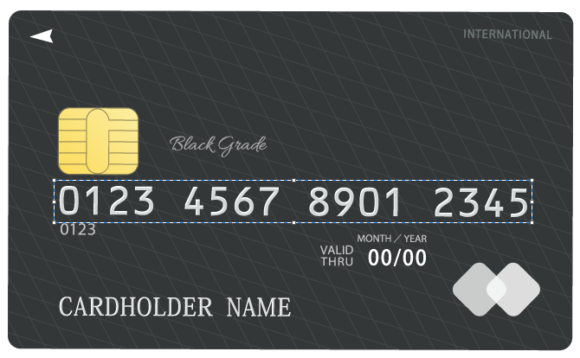
Using the Select tool, first grab the entire area you want to mosaic. Giving yourself a bit of extra room around the edges makes the result come out looking nicer.
Shrink the Selected Area
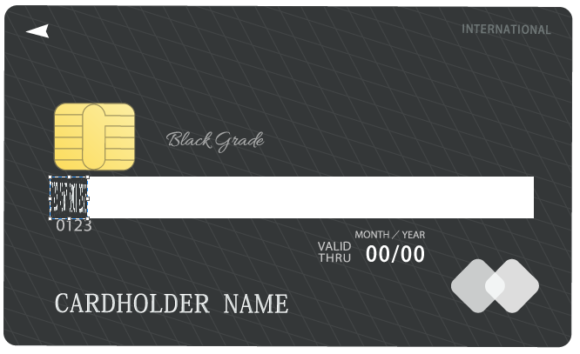
Now squish that selection down — like, really squish it. The smaller you shrink it here, the stronger the mosaic effect will be, and the harder it'll be to make out what was originally there.
Stretch It Back to Its Original Size
Now stretch that shrunken selection back out to its original size. And just like that, it looks all mosaic-y.
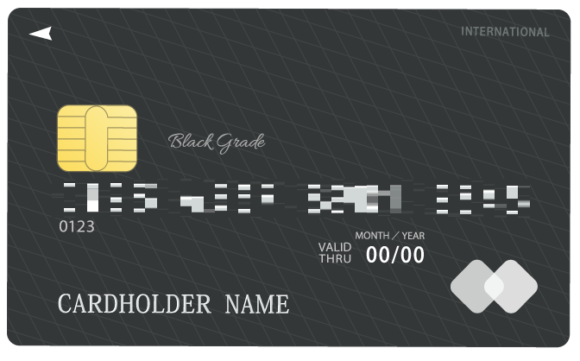
The original numbers are now unreadable. If you only shrink it a tiny bit, you can make a mosaic that's still kind of legible on purpose.

If you want to crank the safety up even more, try selecting it again and stretching it vertically, or shrinking it down even further.
Done!
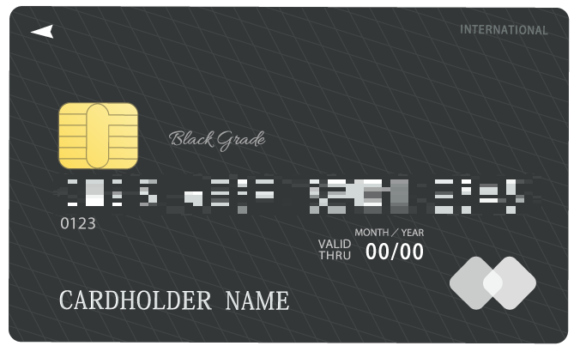
Here's what you get after stretching it both horizontally and vertically. Mosaic it up good so the original isn't showing through. There's a chance someone out there might still be able to decode it, so for anything that's really important, please do yourself a favor and use Photoshop's proper mosaic tool.