

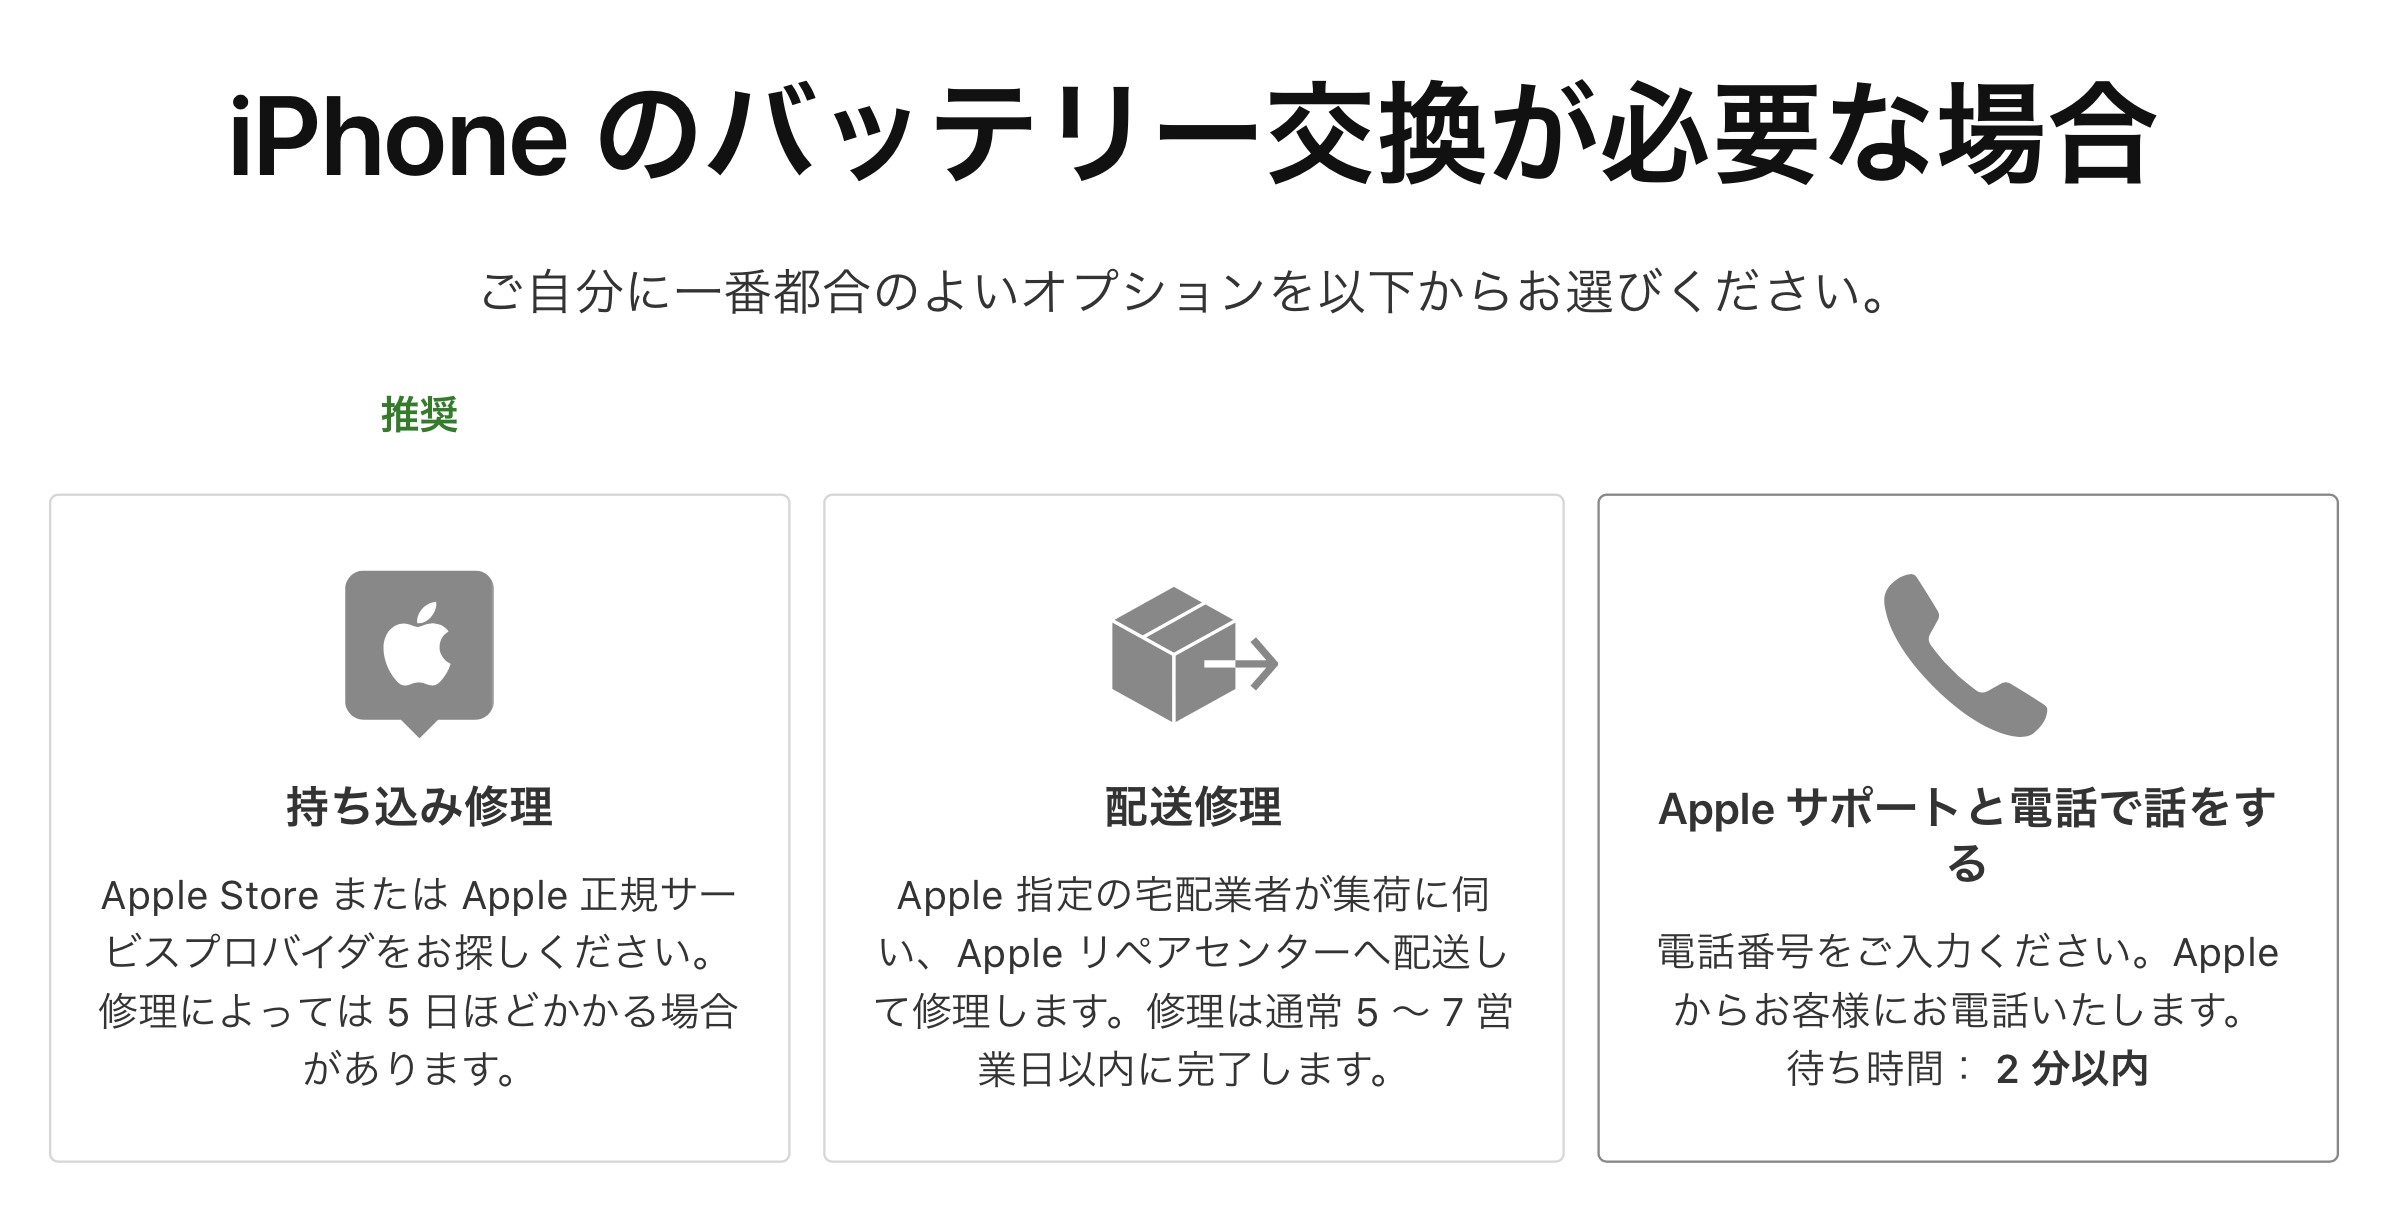
When your iPhone screen cracks or the battery just isn't holding up anymore, sending it in for repair is a great way to bring it back to life. Apple offers two ways to get your iPhone repaired: "mail-in repair" and "walk-in repair." This time, I decided to try both methods and figure out which one is the better choice. If you're enrolled in AppleCare+, screen repairs are a flat 3,400 yen (about 23 USD), and battery replacements are free. The full list of approximate iPhone repair prices is available on the official iPhone Repair - Apple Support page. The devices going in for repair this time are two still-popular "iPhone SE" units.
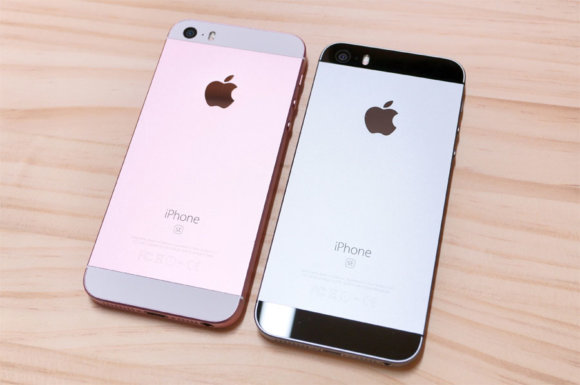
Both have been used pretty hard, and the batteries have degraded so much that they basically don't run unless plugged in, so we're going in for battery replacements. iOS shows the maximum battery capacity at over 90%, but in practice it drops 1% every 10 seconds, which makes normal use impossible. These are older models, so the warranty has already expired.
Pros and Cons of Each
Here's a quick comparison of the two repair methods. Both have their merits, but my personal recommendation is "walk-in repair," since you can pick up your device the same day. If repair speed is what matters most, this is the clear winner.
Mail-in Repair
Pros
You don't have to leave the house, and you can get your repair done even if the nearest store is far away.
Cons
It takes time.
It does take longer, but since you don't pay any transportation costs (or gas money) to head out, this is the cheapest option overall. You don't need to go anywhere, so it's a great fit for people who are short on time.
Walk-in Repair
Pros
The repair is fast (same day), and you can talk face-to-face with a staff member.
Cons
You have to physically go to the store.
The repair usually takes about an hour, so this is great when you're repairing your main device. Being able to actually talk with a staff member also lets you ask questions on the spot, which is reassuring.
Trying the Mail-in Repair

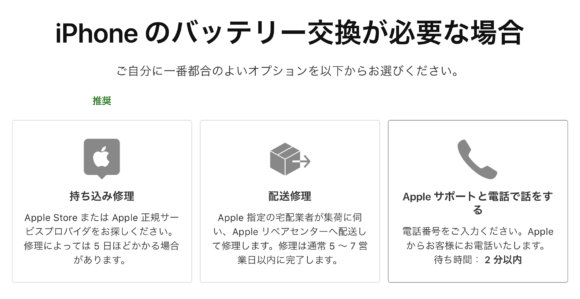
First, I requested the repair through Apple's official website. From Apple - Support - Choose a topic, I picked the product and issue I wanted repaired, then selected "Mail-in Repair."
Next, I entered my address, name, and other information.
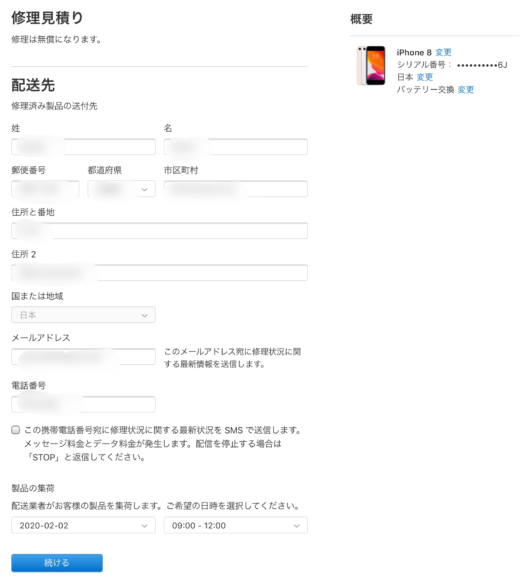
You can specify a pickup time, and depending on the area, the earliest pickup was the next day. After that, I entered payment info and submitted the request.
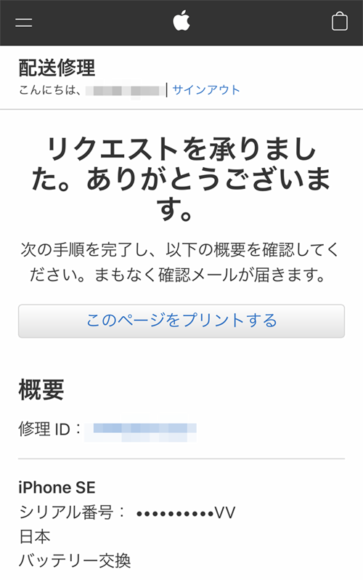
Now all that's left is to wait for the pickup. The shipping box is brought by the courier, so you just hand over your iPhone. That said, there's no padding material, so if you're worried about damage during shipping, it's a good idea to wrap it lightly in bubble wrap beforehand. (Update 2020.03.24) When I recently sent in an iPhone XR for repair, they used a sturdier cardboard box that holds the device firmly in place. With this kind of packaging, you don't really need to worry about scratches in transit!
Before pickup arrives, follow this guide to remove your SIM card, back up your data, turn off "Find My iPhone," unpair your Apple Watch, and otherwise prep your iPhone for repair. Note that screen protectors, cases, and SIM cards left attached will be discarded.
After pickup, you can also check where your device is via the Yamato Transport tracking service.

Depending on the region, it takes about two days to reach the repair center. The "ADSC" branch shown in tracking is short for "Apple Delivery Support Center," and seems to be Apple's dedicated branch. Once it leaves there and arrives at the repair center, the actual repair begins.
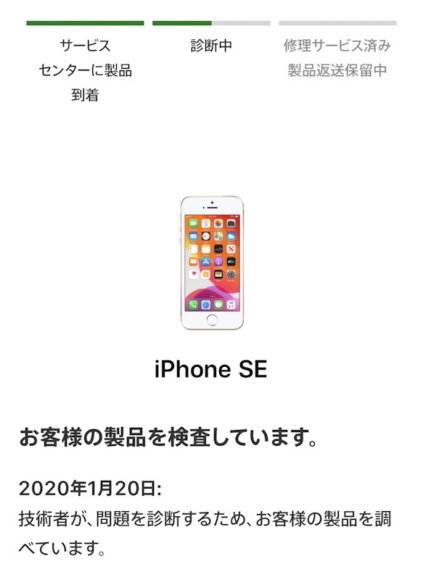
You can check the repair status on the repair page. You'll also get email updates along the way, so it's easy to keep tabs on progress. If there are no issues during inspection, the repair proceeds. When I checked the next day, the status had updated to "Repair complete."
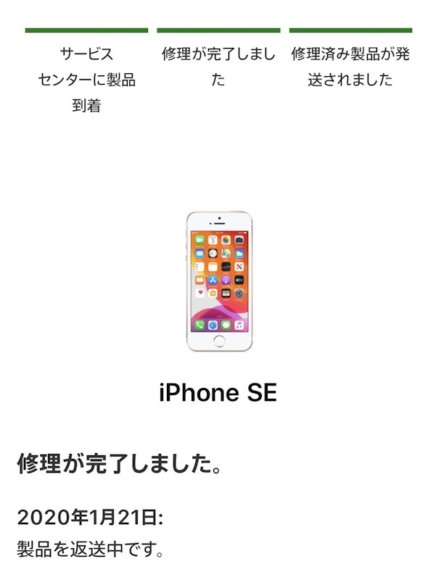
After that, all that's left is to wait for delivery. Here's what arrived once the repair was done.
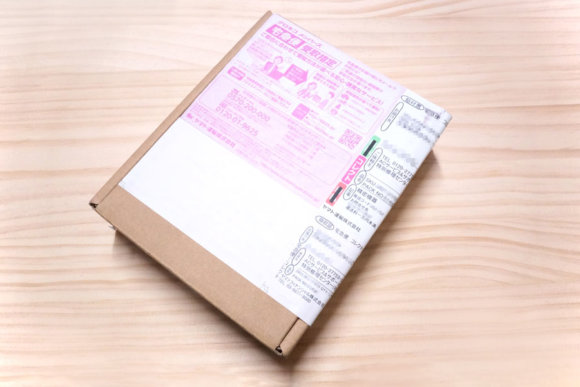
If you choose cash on delivery as the payment method, you pay the courier on receipt. The battery for the iPhone SE was out of warranty, so the cost was 5,940 yen (about 40 USD). Other than the repair fee (shipping included), there were no extra charges. The repaired iPhone arrives in a clean white box, wrapped in plastic.
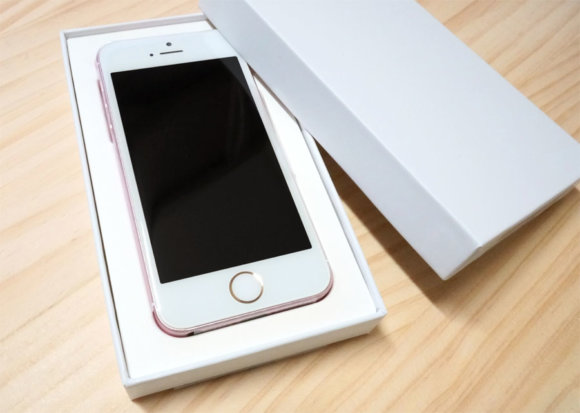
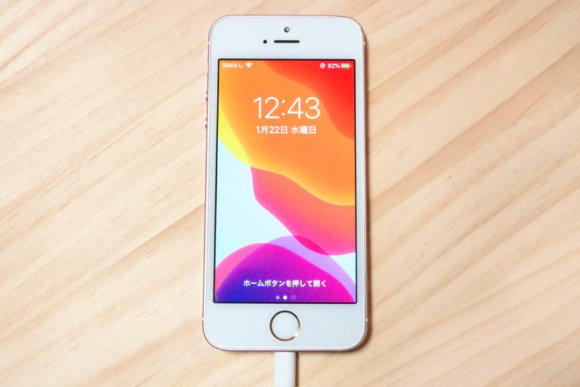
It almost feels like a brand-new device. Battery capacity was, of course, back to 100%.
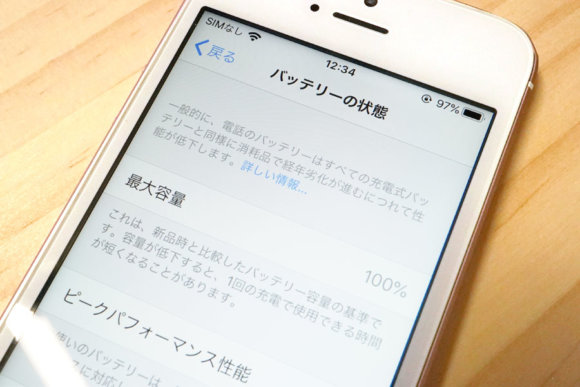
It even feels just like new again to use! Now I can keep using it for a while longer. As an aside, I was hoping the off-center front camera might also get fixed as part of the repair, but no luck there.
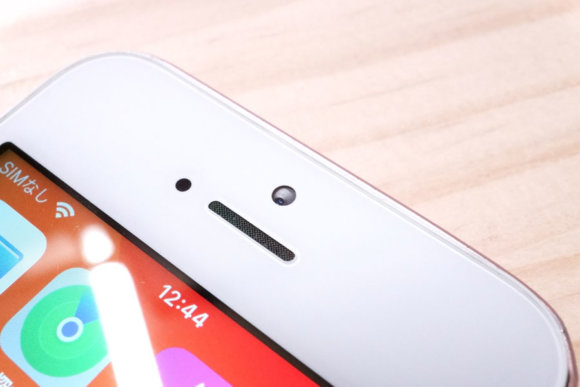
That said, I only requested a battery repair, so of course that wouldn't be touched. On top of that, the body frame is slightly bent, so even if they had tried to fix it, they might not have been able to. (Fixing it might have meant a full device swap...) Here's the timeline from when I requested the repair to when it was done:
- Pickup requested: January 17
- Picked up: January 18
- Arrived at repair center: January 20
- Shipped from repair center: January 21
- Arrived at home: January 22
In total, it took about 5 days. The repair itself looks like it was done in a single day, but transit eats up a fair amount of time.
Trying the Walk-in Repair

This is the option where you bring the device to an Apple Store or another location for repair. If your nearest Apple Store is far, you can also get it repaired at an Apple Authorized Service Provider in Japan, such as Quick Garage or Camera no Kitamura. For walk-in repairs, you also book an appointment in advance through Apple's official website. From Apple - Support - Choose a topic, pick the product and issue, then select "Walk-in Repair" and book an appointment.
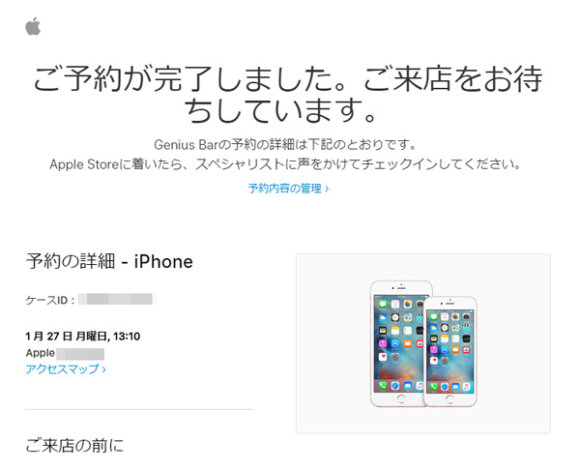
After that, just show up at the Apple Store on your booked day.
You'll need ID (driver's license, passport, etc.) to pick up the repaired device, so don't forget to bring it.
When you arrive on the day, let a staff member know your appointment time and that you're there for a repair. Before the actual repair, the staff first checks over your iPhone, looking at exterior damage and water damage indicators, then confirms what's being repaired.
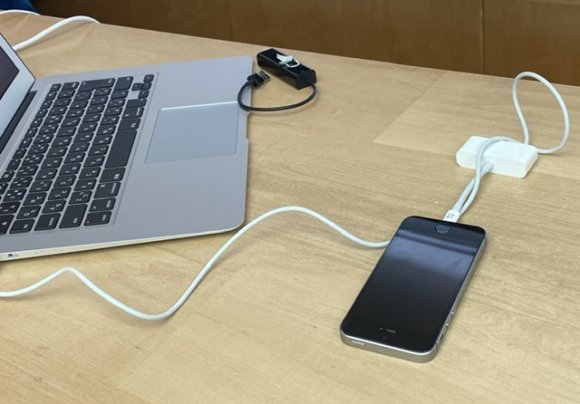
This particular device wouldn't charge past 1%, so the staff member said, "There's a chance this might end up needing a full device swap..." But out-of-warranty device replacement (for the SE) is over 30,000 yen (about 200 USD), which is brutally expensive, so I told them, "If that's the case, just leave it as is," and they happily accepted. The Genius Bar appointment was at 13:10, and the repair would finish by 14:15. Plenty of time to grab a coffee while waiting.
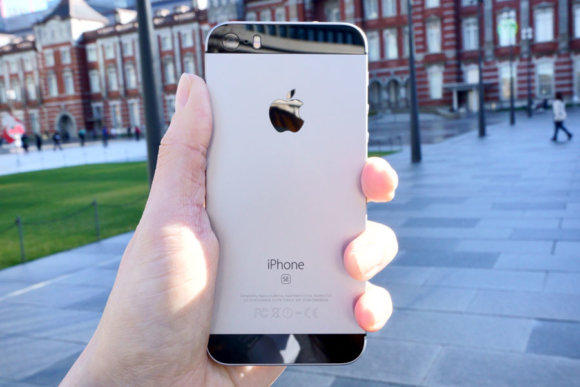
Here's the device after the repair was successfully completed. Fortunately, a battery swap was all it needed. And that's it for the repair. With no shipping involved, it wrapped up much more quickly!
If You Live Near an Apple Store, Go Walk-in; If Not, Go Mail-in
Mail-in repair just inherently takes a long time, so if you have an Apple Store nearby, walk-in repair is the way to go. The repair pricing is identical, so pick whichever fits your situation. If you're enrolled in AppleCare+, you can also use the Express Replacement Service, which lets you swap your iPhone for a brand-new or like-new unit by courier almost immediately. The catch is that you need a credit card, and they temporarily authorize a hold for the full price of the replacement device, so depending on the person, this service can be a bit hard to use.